
This guide applies to the Meraki MR series. Do not connect the Access Point before you have configured the Meraki Cloud dashboard.
Go to your order status page to set up your network. Your order status page is “dashboard.meraki.com/claim/YourOrderNumber”. You’ll find your order number in the packing list included in this shipment and in your order confirmation email.
Configure your account by following the on-screen instructions and configure your network before plugging in any hardware.
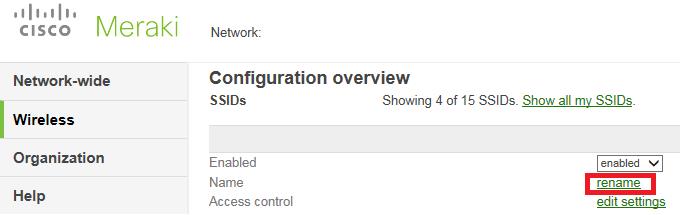
Select the Wireless menu. Under the Configuration section, click SSIDs. If you need it, edit the Network name by clicking on “rename”. Otherwise, follow the next step.
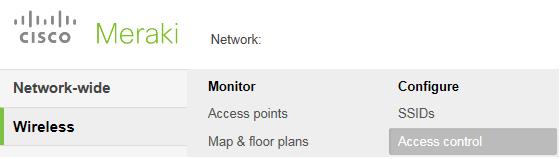
Go to the Wireless menu. Under the Configure section, click Access control.
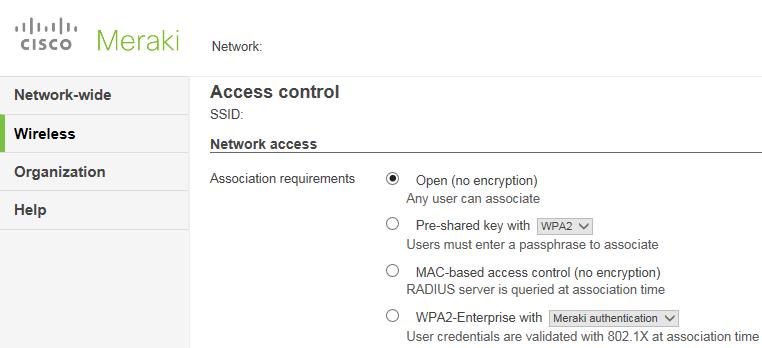
Under Network access section, tick “Open (no encryption)” in Association requirements:
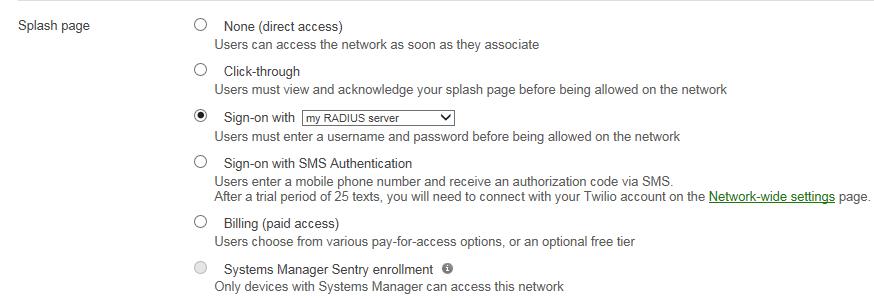
Tick “Sign-on with my Radius server” in the Splash page field.
Now you need to configure Radius for Splash Page and Radius accounting. To be able to add an accounting Radius server you need to contact Meraki support asking them to enable this feature.
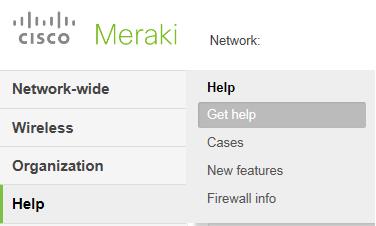
To contact Meraki support, go to Help menu and then click “Get help”. Then you can either open a new case by following the on-screen instructions or call Meraki service number. You need to ask them to enable the possibility to configure an accounting Radius server.
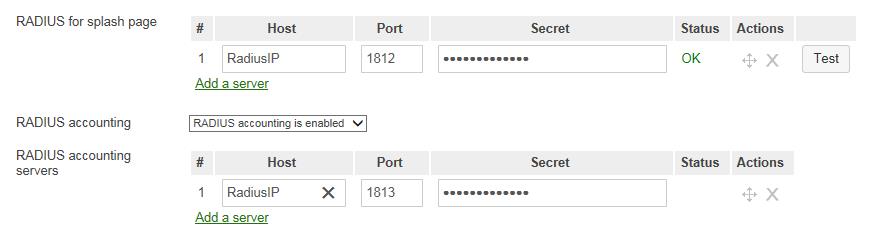
Go back to Wireless > Access control menu and complete the Radius configuration.
Click Add a server, in the Radius for splash page section, and enter the following details:
Then, enable the Radius accounting option.
In the Radius accounting server field, click Add server and enter the following details:
Select “Block all access until sign-on is complete” in the Captive portal strength field.

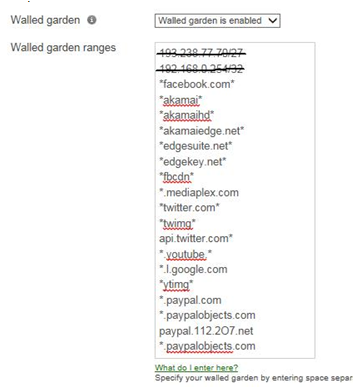
Enable the Walled garden option.
Add the IP Addresses used to reach HSNM.
The, add the necessary walled garden.
If you need to add a host name, contact Meraki support and ask them to enable this feature.
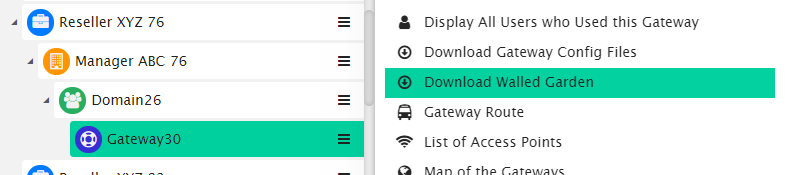
To know the accurate and relevant Walled Garden you need to add one by one, access your HSNM platform and click the contextual dropdown menu of your gateway. Select Download Walled Garden to get a .txt file with your accurate walled garden list as shown Figure Download Walled Garden.
In the Controller disconnection behavior field, tick “Restricted: only currently associated clients and whitelisted will be able to use the network”.

In the Client IP assignment field, tick “NAT mode: Use Meraki DHPC”.

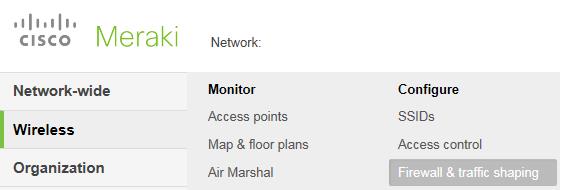
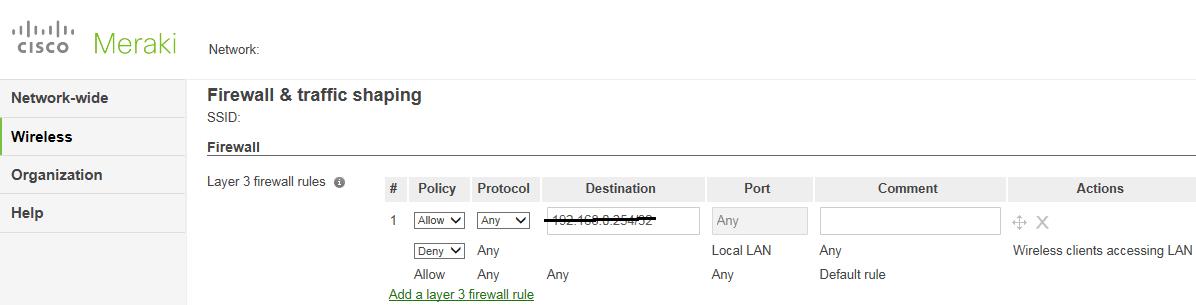
Go back to Wireless menu. Below the Configure section, click Firewall & traffic shaping.
Select “Allow”, if the Meraki is on the same LAN of the Appliance (otherwise select “Deny”), under the Policy column.
Under the Destination column, enter your own IP address.
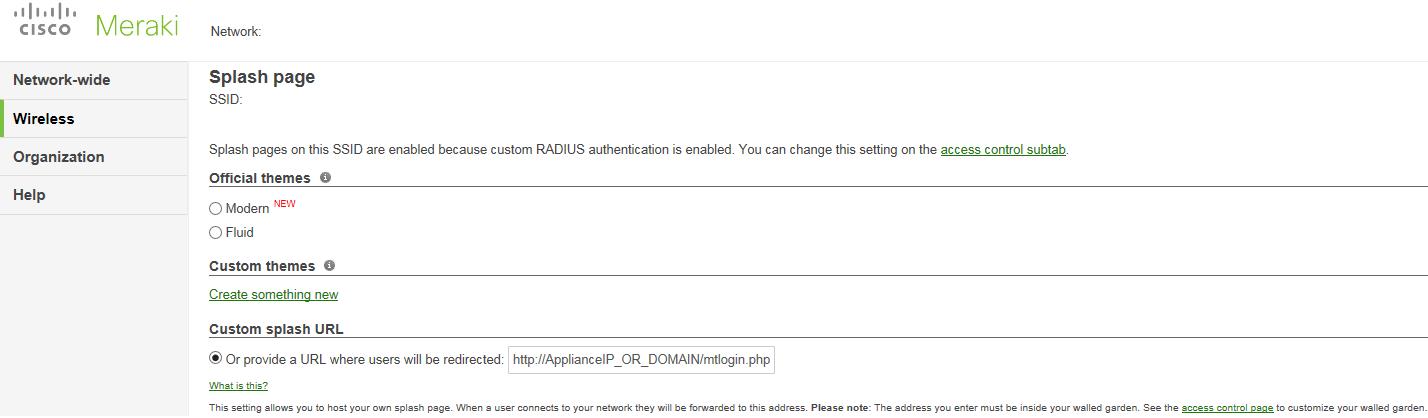
Select the Wireless menu on the left and then, under the Configure section, click Splash page.
In the “Custom Splash URL” section, enter the URL http://PlatformIP_OR_DOMAIN/portal/index.php?domain=domain-name-created-inside- Platform&hotspotname=name-of-the-hotspot-created-inside-Platform.
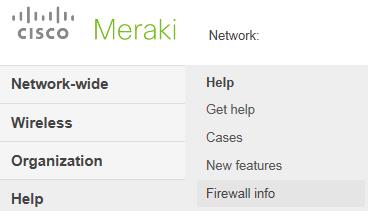
You need to open in your firewall the TCP/UDP ports. To do that, select the Help menu on the left and then click Firewall info (the IP address hidden with a black mark, in the sample image below, only means that you have to set your own IP address).

Connect to your Platform and edit your gateway to select “Cisco Meraki MR series (Beta)” in the Hardware type field.
Lastly, connect your Meraki to your network, which will get its configuration automatically from the Meraki Cloud dashboard. Now you are able to connect to the configured wireless network and reach the Platform Welcome Portal of your domain.
These are all the necessary steps to configure Meraki Cloud dashboard so as to interact with the Platform. Other fields in Meraki Cloud dashboard can be configured according to your needs.