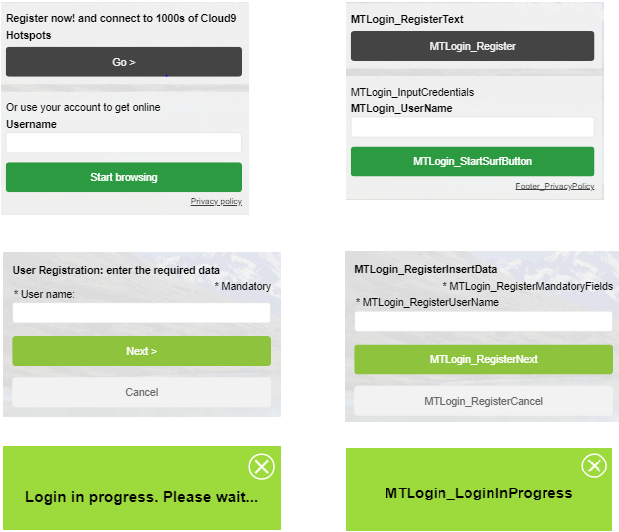
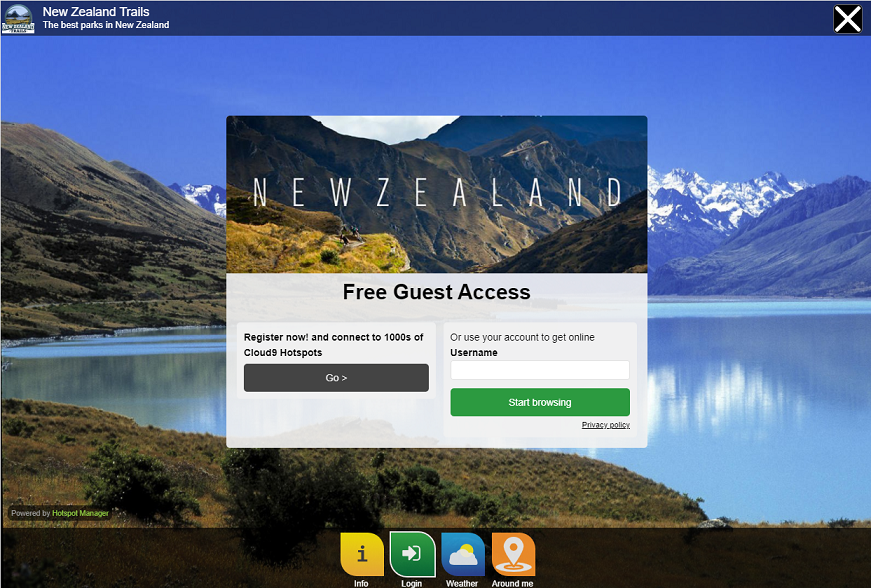
Guest Login
Guests can create their own accounts by registering themselves on the Self-Service Guest portal. Based on the portal configuration, these self-registering guests may need add some further details before they gain access to WiFi.
The service is either free, charged prepaid with online top-up or postpaid.
You can configure this login form by using the following steps.
Select your Domain.
In the dropdown menu, click Edit.
Expand the General Data menu.
In the Authentication Mode dropdown list, select User self-service registration. No password.
Expand the Data to Customize Users Registration menu.
From the Request the Username dropdown list, chose the option for your guests.
Click the Save button on the top right of the page.
To change the labels for the fields and Login button, simply scroll down to Translations from the System or Domain or Gateway dropdown menu. It depends if you need to change the fields for all domains and gateways or only for specific ones.
From the menu on the right, select the language you need to apply changes.
To start searching for text, open the Find bar using the Ctrl+F keyboard shortcut. Choose the field you want to rename and edit it.
Once completed, click the Save button on the top right corner to save the entry.
Some relevant codes for the field labels