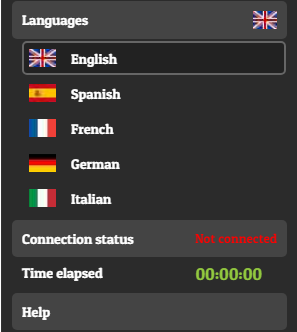
You have 5 default languages and you can also set other 3 customized languages.
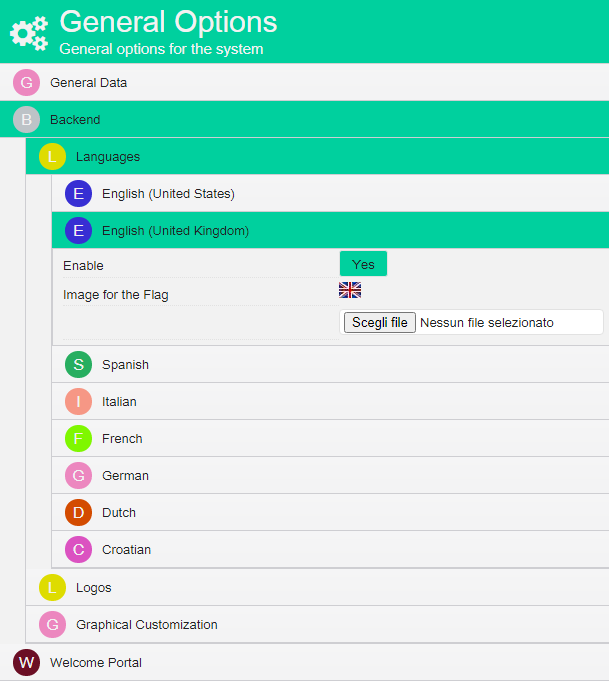
In Admin tab, select General Options, scroll down till Flags.
Select the flag of the additional language and write the name. Choose the direction of the text.
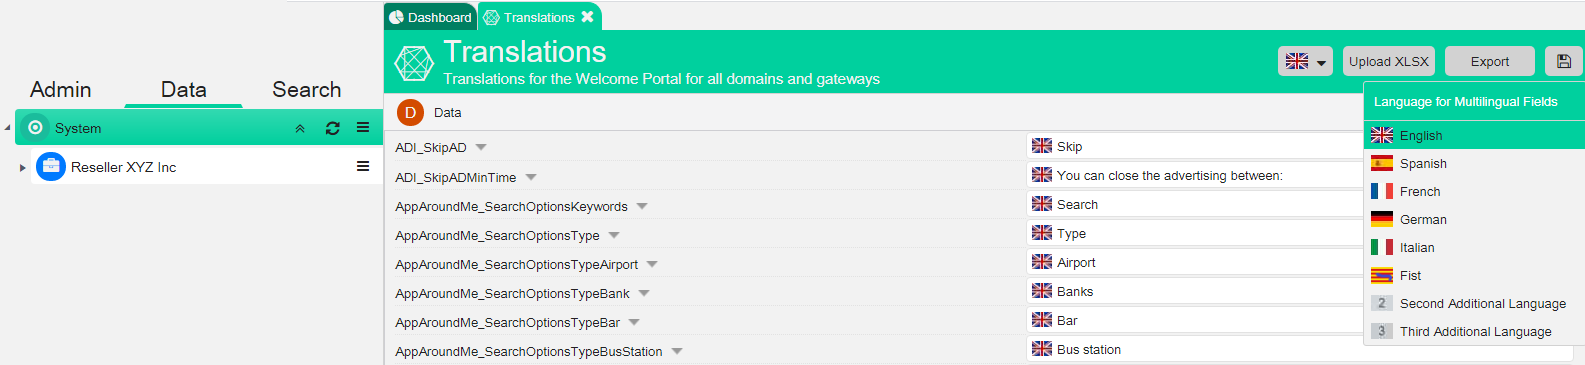
Then in Data tab, go to System or to the Domain or to the Gateway and select translations.
Now select the level you want to customize the language. Using the context menu, scroll down till Translations. On the top-right, select the language to customize and you can start the translations for the Welcome Portal.
We suggest to first export the translations in English or in another default language. In this way, you will get an excel file with the outline of the translations in the default language. After the translations, you can import the file
In this section, you can also change only some words or sentences. Just edit the new translations and click the Save button. Empty fields will upload the default translations already existing at system level.
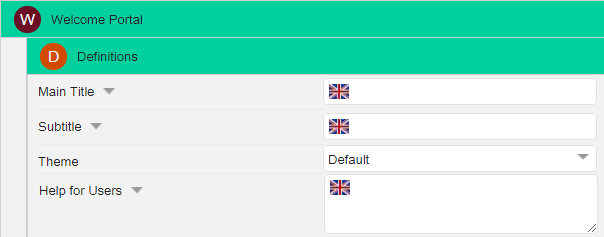
In the template of the Welcome Portal, you will also find some fields that need to be translated. You will recognize them as they are marked with the flag of the language.