Every venue has different needs and the primary advaIntegrating Microsoft Azure as a login option offers numerous advantages, including enhanced security, compliance, and seamless integration with the Microsoft ecosystem, making it a valuable choice for businesses looking to improve their authentication infrastructure.
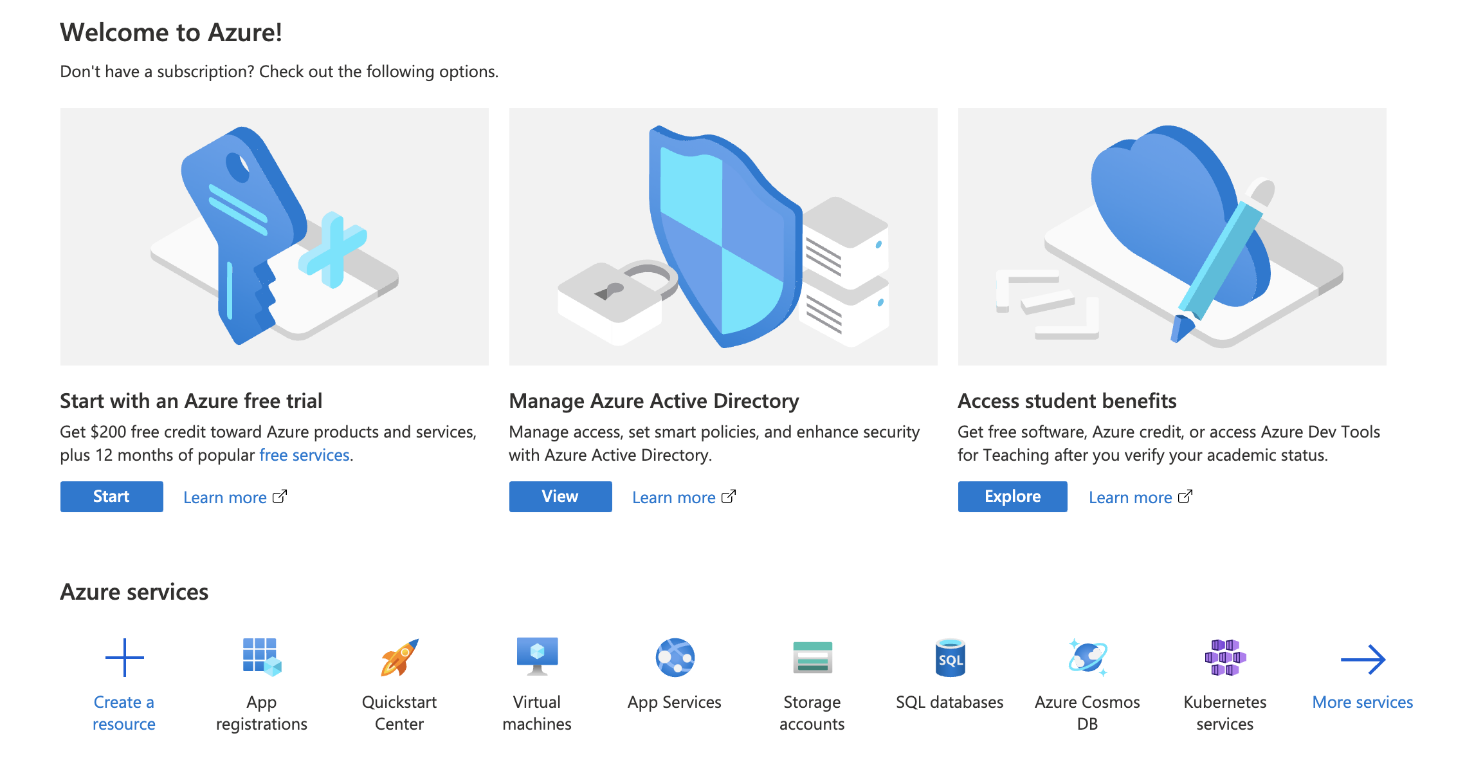
To create an application, you need to register or log in using the following URL: https://portal.azure.com/#home
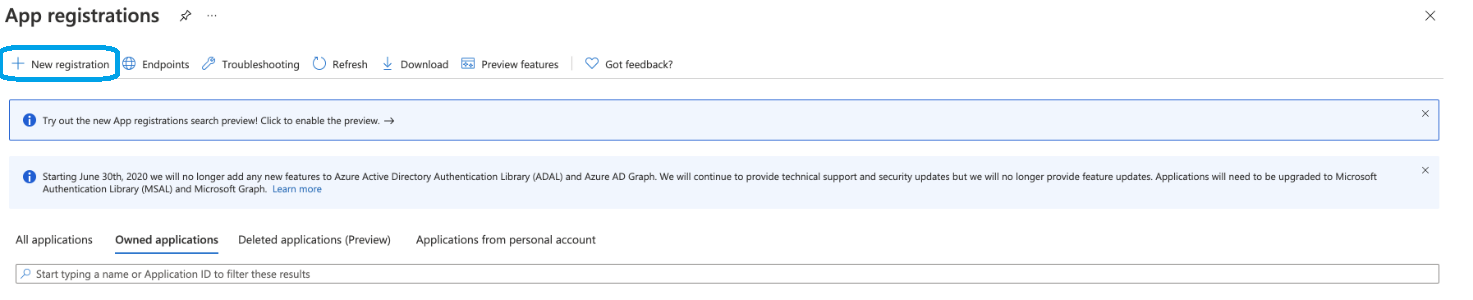
Click on App registrations. If you cannot find this option, click More Services, search for App registrations, and then press it.
Click on + New Registration
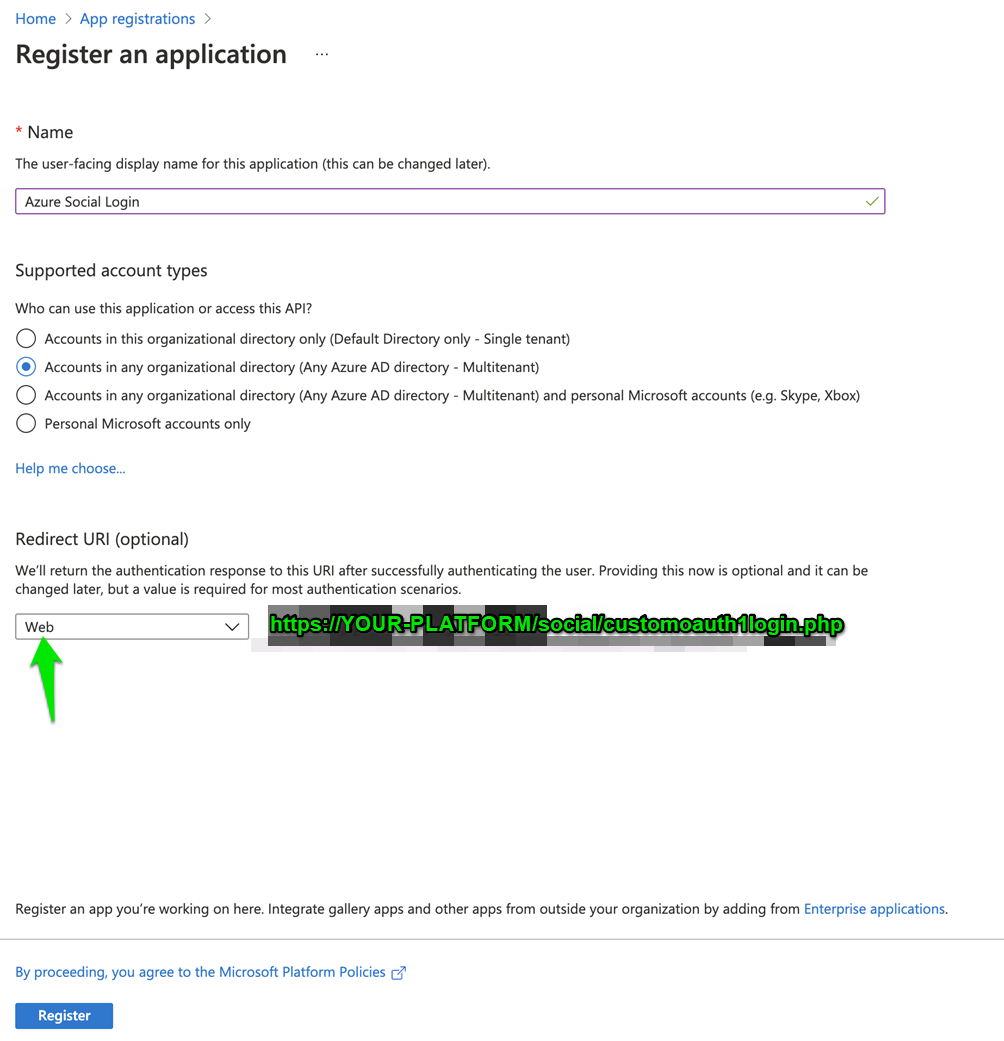
Enter the name you wish to use for the App.
You can select any account.
Under Redirect URL; select Web, and the URL should be as follows: https://YOUR-PLATFORM/social/customoauth1login.php
Once completed, click the Register button to save your entries.
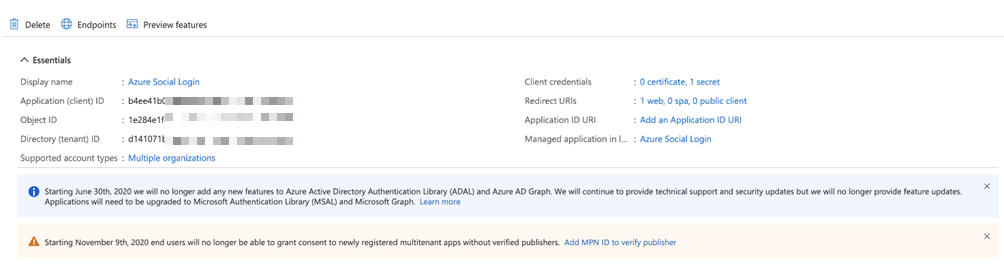
Copy the Application (client) ID, for example, b4ee41b0-8f58-440f-9427-xxxxxxxxxxxxx.
You will need it to paste into your HSNM > External Authentication > OAuth Custom Authentication page.
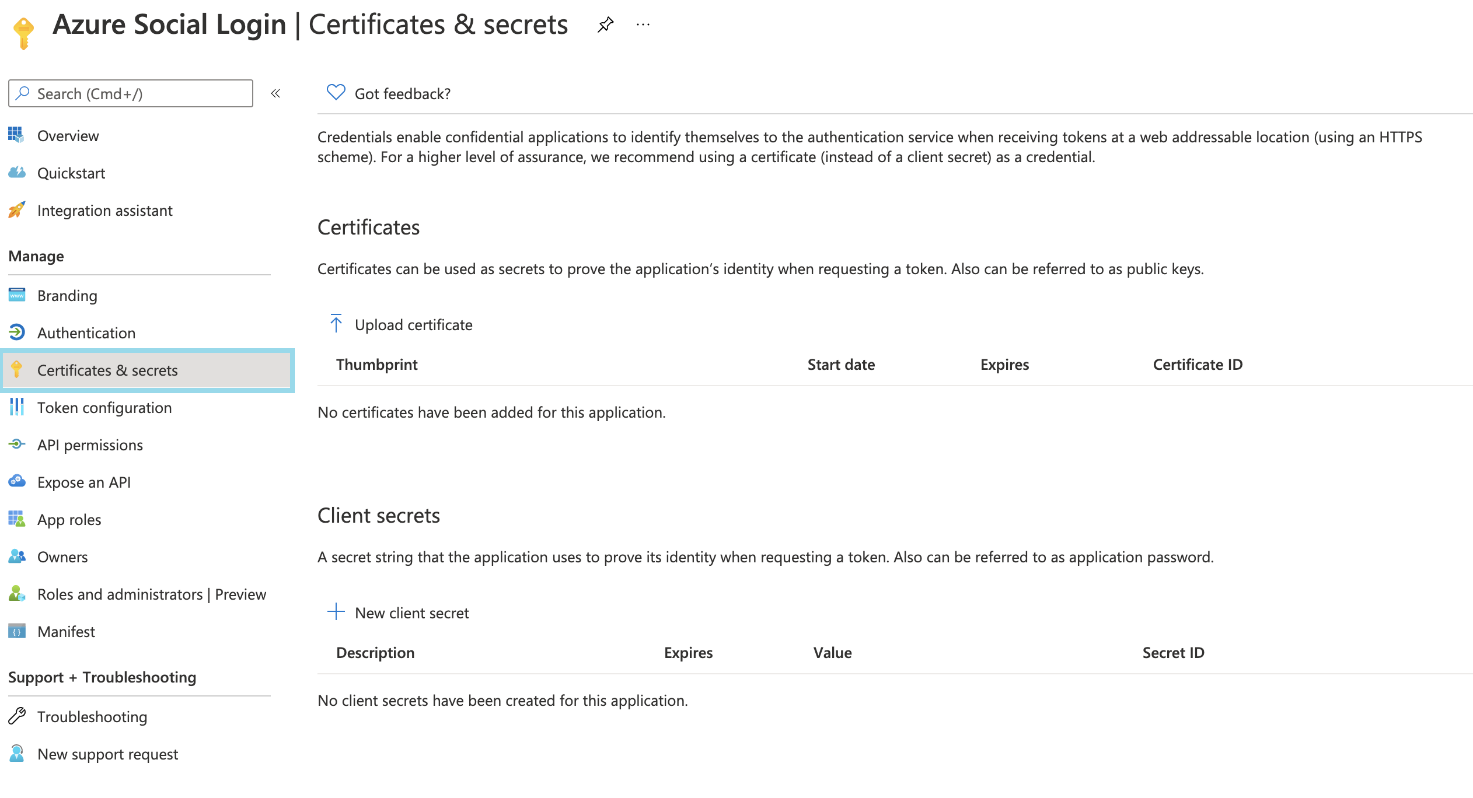
At this point, you need to generate the Secret ID by following these steps:
From the same page, click on Certificates & Secret
Then click on + New Client Secret
You will be displayed a pop up. You need to fill in the description and expiry time:
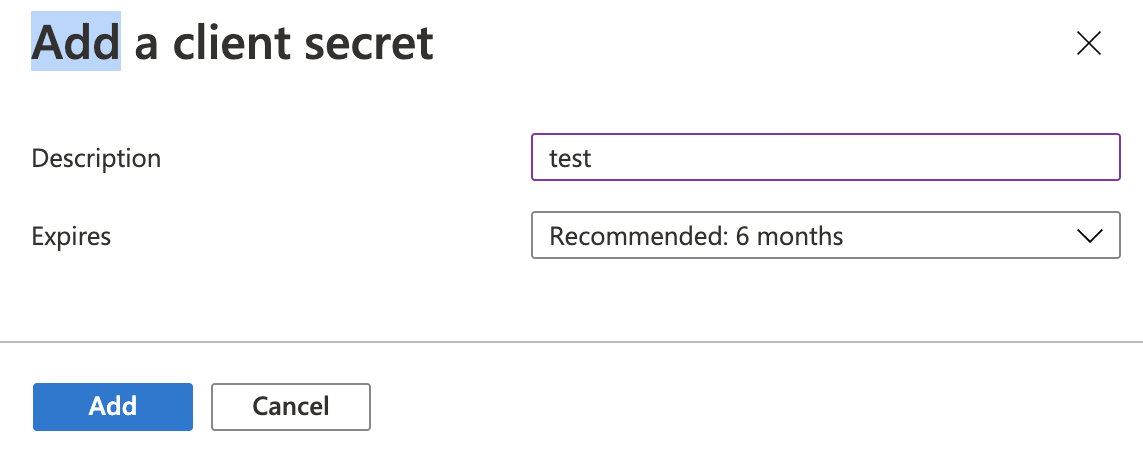
Click Add to generate the key.
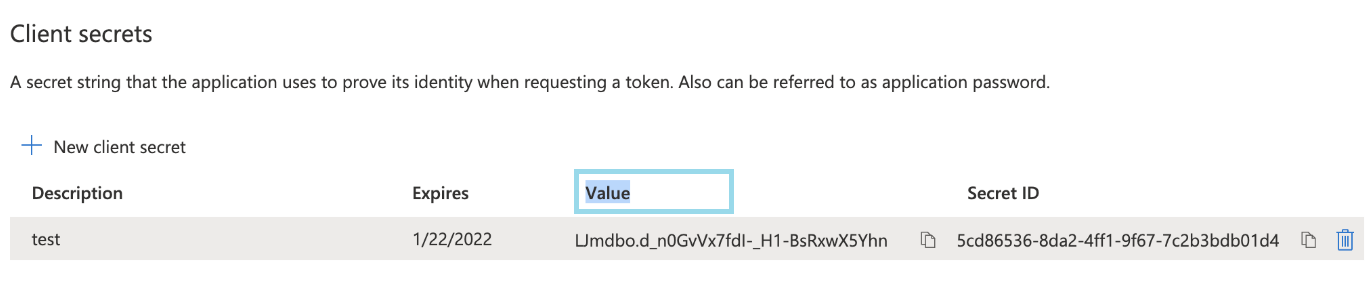
Important! You need to copy the Value as a secret ID and paste it in the HSNM > External Authentication > OAuth Custom Authentication page, not the secret ID
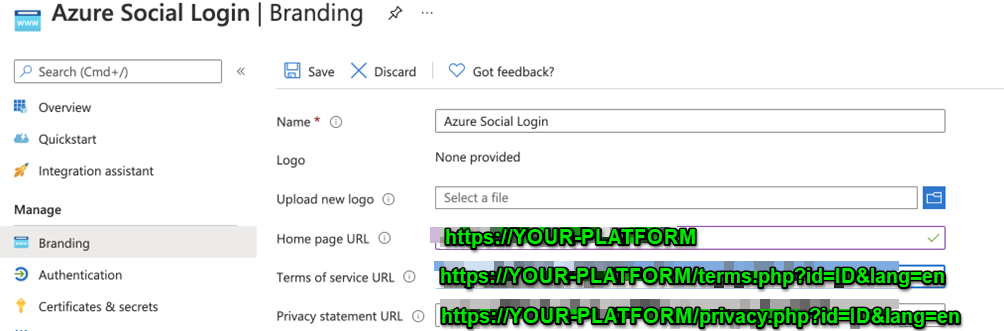
Now select Branding on the left-side menu.
Then add the Home page URL as https://YOUR-PLATFORM.com
Terms of service URL as https://YOUR-PLATFORM/terms.php?id=ID&lang=en where ID is your Manager ID
Privacy of service URL as https://YOUR-PLATFORM/privacy.php?id=ID&lang=en where ID is your Manager IDnerate the key.
Now access your HSNM platform to configure Microsoft Azure. Expand External Authentication > OAuth Custom Authentication.
Enter the details as follows:
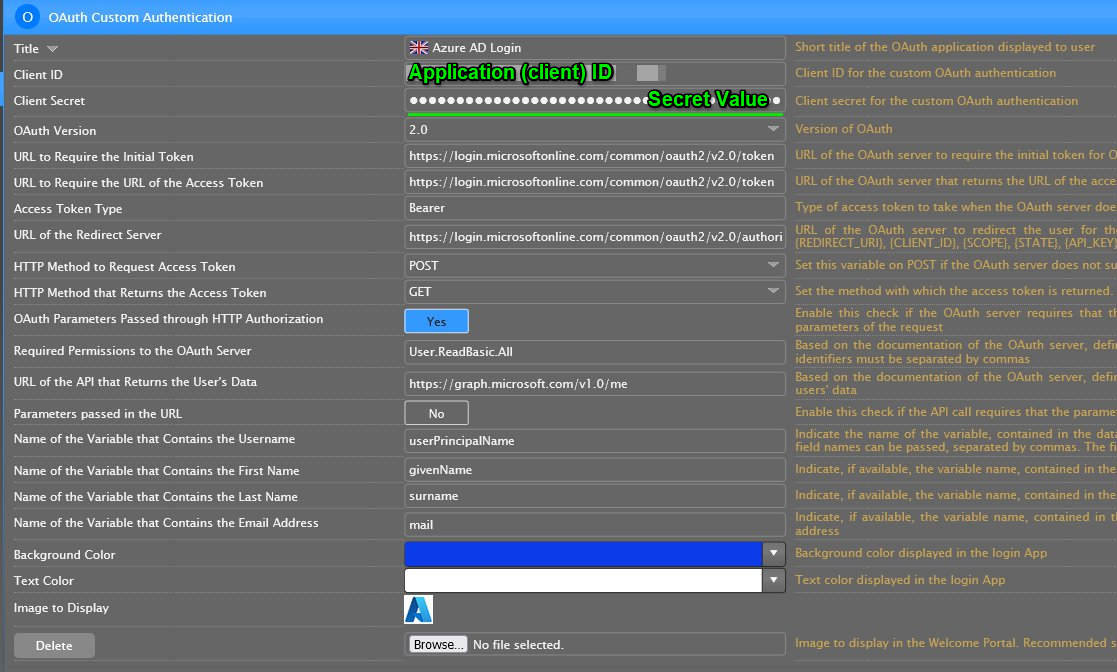
Click Save in the top right corner of the page. Your selected entries are saved.
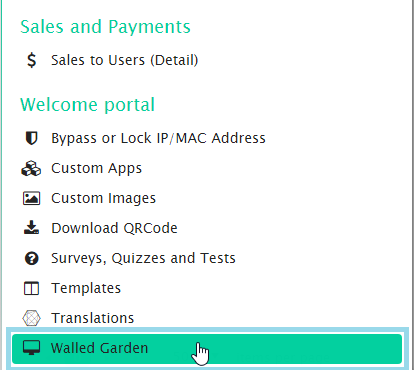
To finish the configuration and allow the login, add the following relevant Walled Garden into your gateway. In addition to the ones already present, add them one by one to the Walled Garden/White List page.
*login.microsoftonline.com*
*.msidentity.com*
*.trafficmanager.net*
*.msftauth.net*
login.live.com*
*akadns.net*
*.omegacdn.net*
Enter the relevant Walled Garden into the Walled Garden page by selecting it from the context menu.
Click the + button to add them one by one.