
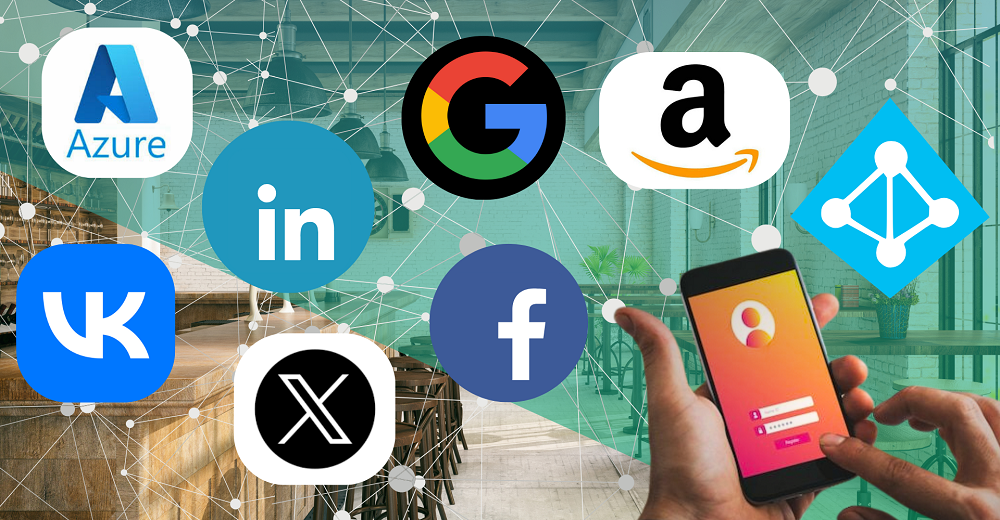
Guests may access through Facebook, Google+, Twitter, LinkedIn, Amazon, VKontakte login using their social credentials. Integration with Microsoft Active Directory (LDAP).
The service is either free, charged, prepaid with online top-up or postpaid.
This section explains how to set up the Social Login alone, not combined with other authentication modes.
You can configure this login form by following the steps.
Select your Domain.
In the dropdown menu, click Edit.
Expand the General Data menu.
In the Authentication Mode dropdown list, select Social login only.
Expand the External Authentications menu.
Enable the social networks that your guests can use to log in.
Click the Save button on the top right of the page.
To configure a connection to your social network/s
From the Admin tab, scroll down to External Authentications.
If you have a HSNM Hotspot Manager Enterprise Edition, you can either configure it at admin level or set up a LDAP server specific for each reseller. You just need to follow the procedure expanding the dropdown menu of the specific reseller and select External Authentications.
Expand the Social Networks section and specify the relevant details in the fields of the social networks you want to use.
For further details, please refer to the External Authentications paragraph in the Admin Manual.
Once you’ve completed the form, click the Save button at the top right corner of the page. Your entries are saved.
To change the labels for the fields and Login button, simply scroll down to Translations from the System or Domain or Gateway dropdown menu. It depends if you need to change the fields for all domains and gateways or only for specific ones.
Select the language you need to apply changes from the menu on the right.
To search for text, open the Find bar using the Ctrl+F keyboard shortcut. Choose the field you want to rename and edit it.
Once completed, click the Save button on the top right corner to save the entry.