
This chapter describes how to configure Alcatel-Lucent OmniAccess Stellar AP1201.
Before proceeding further with the configuration, you need to configure HSNM with a domain and a gateway as described in Adding a New Gateway.
The prerequisites required for configuration are:
Access your Alcatel-Lucent OmniAccess Stellar with your credentials or using the credentials Alcatel provided you with.

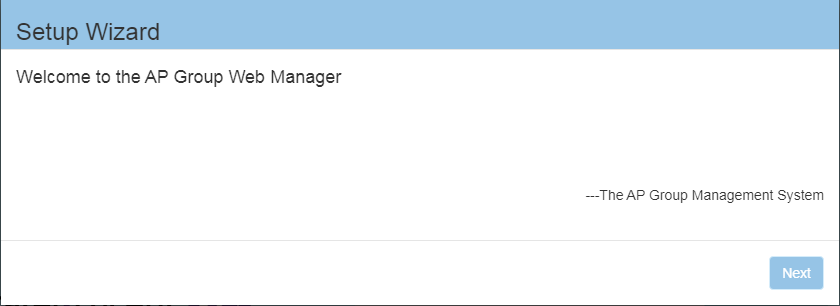
Once you sign in, the Setup Wizard will appear.
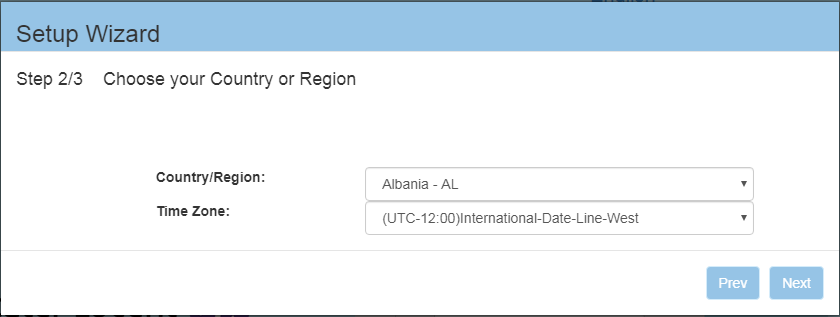
If the first time, change password, select the country and the time zone. Then click Next.
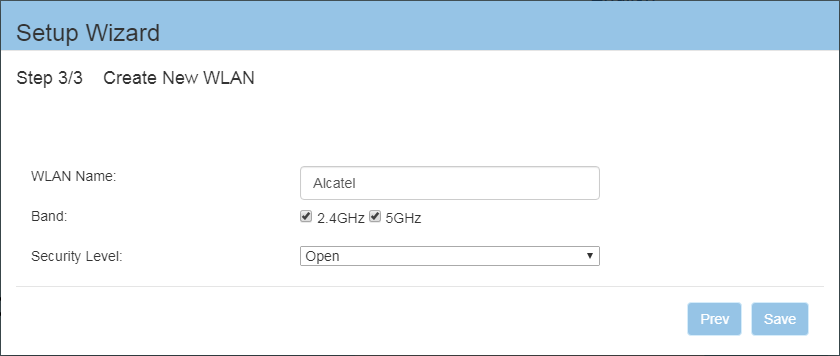
The first step is to configure the WLAN for the hotspot service, the access to the RADIUS server and accounting. After that, you need to enter the Walled Garden.
Edit the name of your WLAN.
On Security Level, choose Open.
Then click on Save.
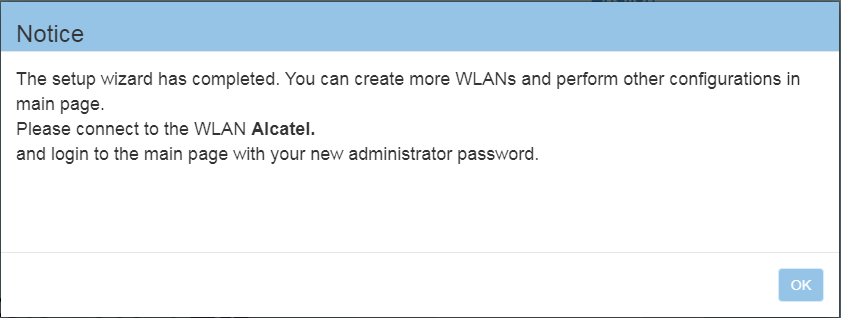
The following wizard will appear. Click OK.
Now you need to log in again to your Alcatel-Lucent OmniAccess Stellar interface. Select the language and enter the password at the prompt.
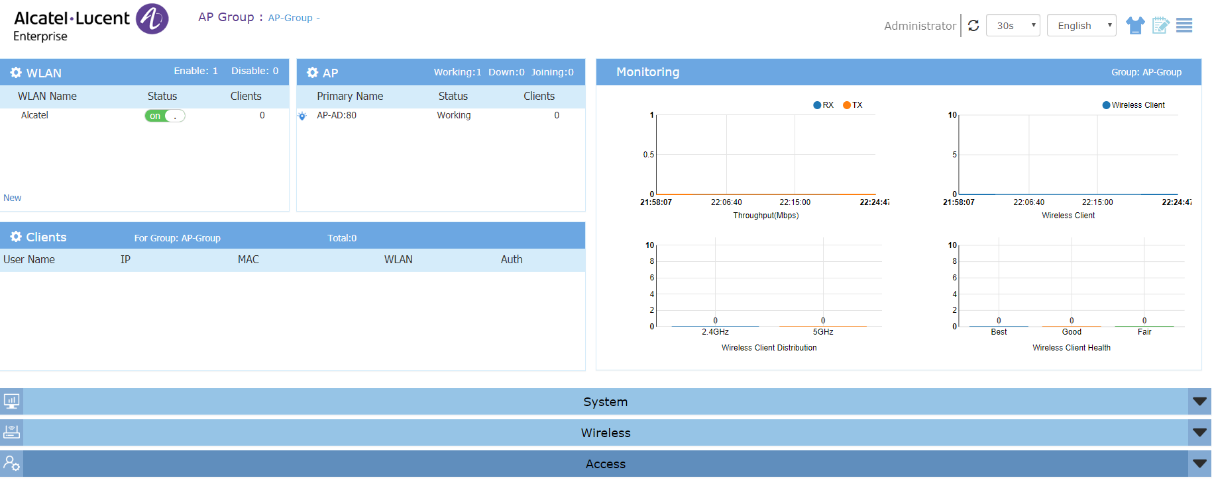
Once you sign in, the Administration panel will appear.
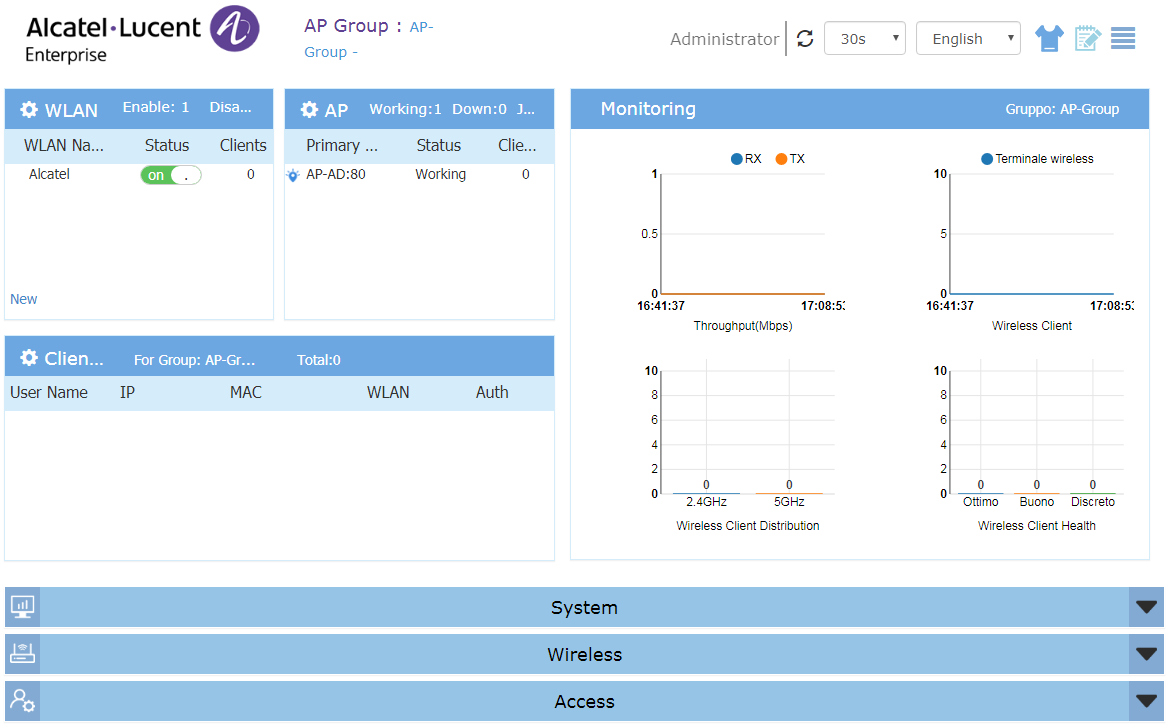
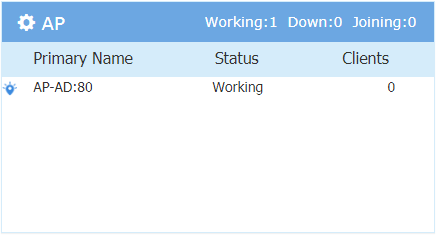
Now you need to configure the AP. By default, the AP is configured with active DHCP. Click on the gear icon of the AP.

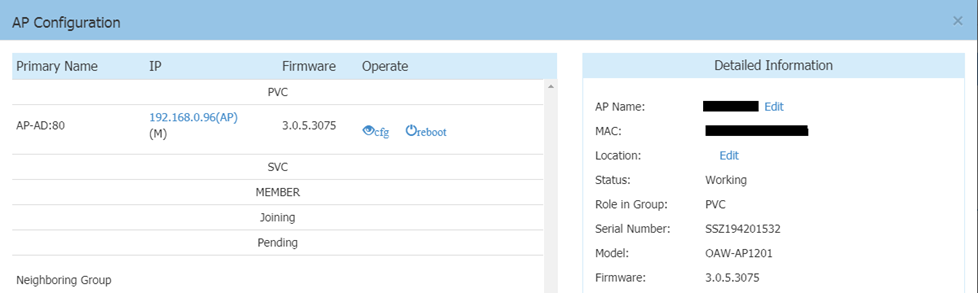
In the Detailed Information session, scroll down to the IP Mode field and click Edit.

Click on Static which will show you the various parameters to enter for the network.
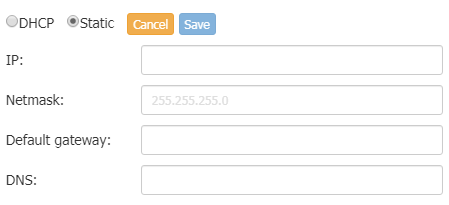
Once completed, click the Save button on the right.
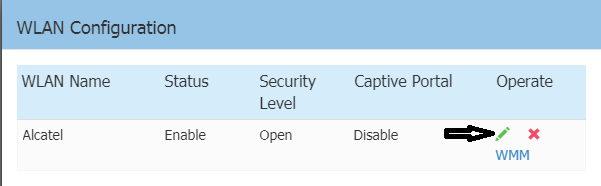
Click on the gear icon in WLAN to expand the panel managing the WLAN.
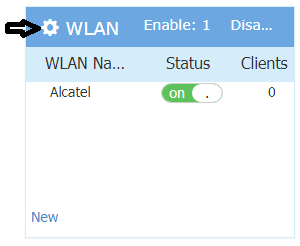
Click on the pen icon on the right to edit the WLAN.
Select the options as follows:
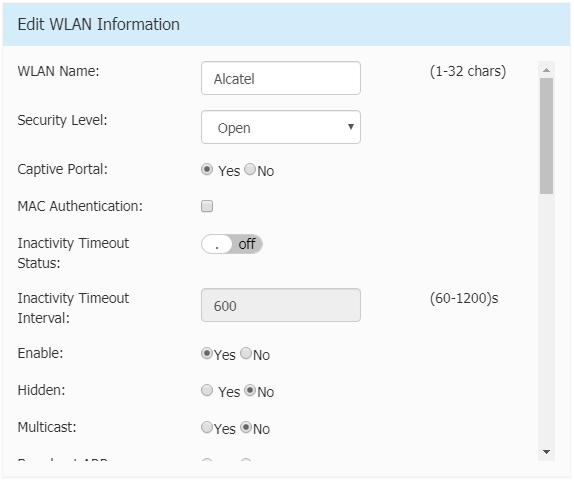
Once completed, scroll down and click on Save.
Click on the X icon at the top right to close the session.
Now you need to configure the parameters for the Captive Portal. In the Web Management, scroll down and expand the Access session by clicking it or using its arrow on the right.
Click the gear icon in Authentication to open the panel managing the authentication.

Now you need to enter the parameters of your portal.
Enter the details as follows:
In the Captive Portal Server session, enter the detailas as follows:
In the Captive Portal Server session, enter the detailas as follows:
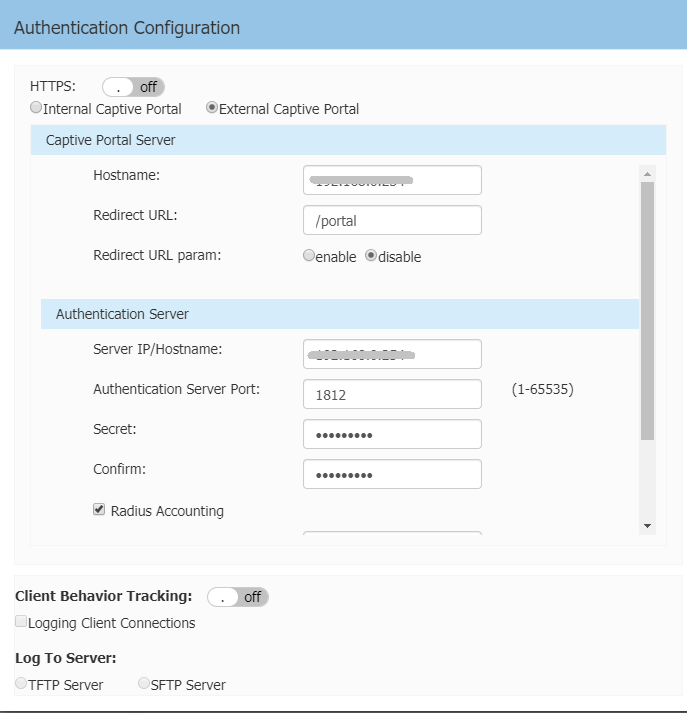
Once completed, scroll down and click on Save.
Click on the X icon at the top right to close the session.
If you have enabled HTTPS in the authentication options, then you need to install an SSL certificate for the External Portal Server.
You cannot use a wildcard certificate.
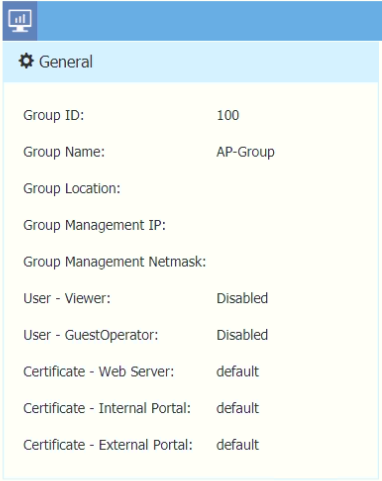
Open the System panel.
Click the gear icon in General.
Select Certificate Management.
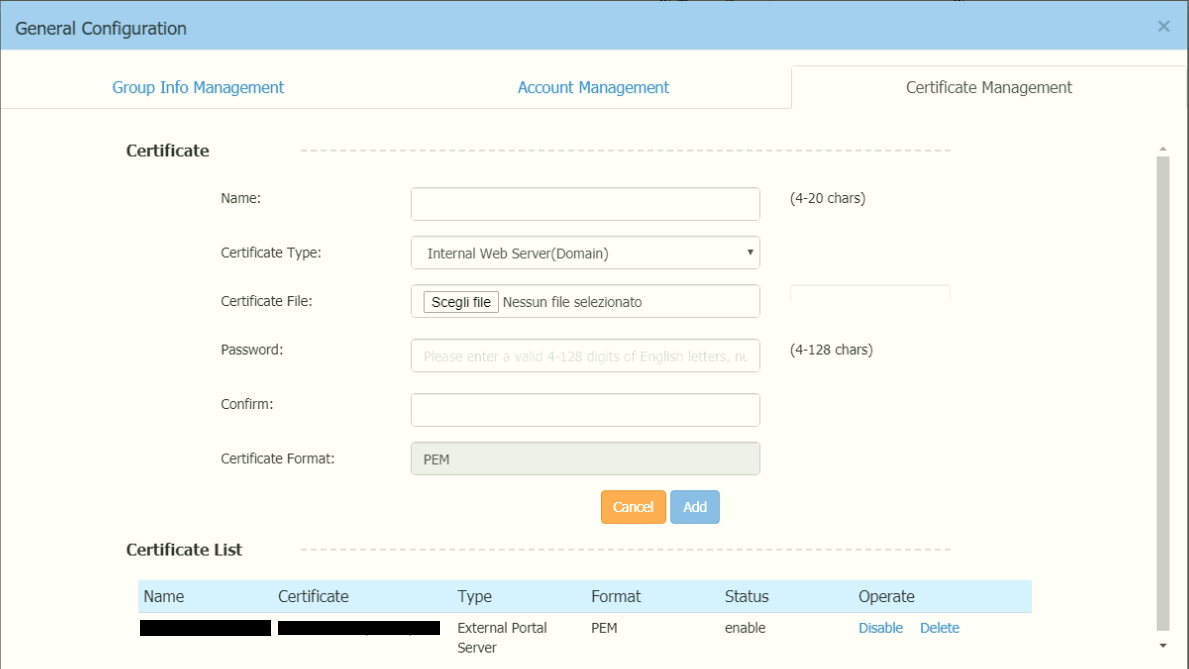
Enter the details as follows:
Click Add.
If the certificate is successfully uploaded, it will appear at the bottom, in the Certificate List.
Go to Certificate List>Operate, press Enable to enable the certificate.
Click the gear icon in AP
Copy the MAC Address you find in the Detailed Information field.
Access your HSNM, expand the General Data session of your gateway and paste the MAC Address in the Gateway MAC Address field.
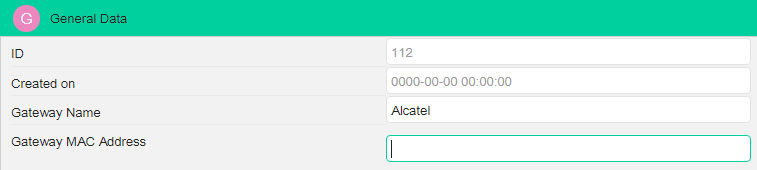
Click the Save button on the top right corner to save the entry.