
This chapter describes how to configure Aruba Instant On.
Before proceeding further with the configuration, you need to configure HSNM with a domain and a gateway as described in Adding a New Gateway.
The prerequisites required for configuration are:

In order to add the Secret you need to get it from your HSNM as described in the Radius Secret paragraph.
Open the browser and connect to https://portal.arubainstanton.com in order to access your Aruba Instant On account.
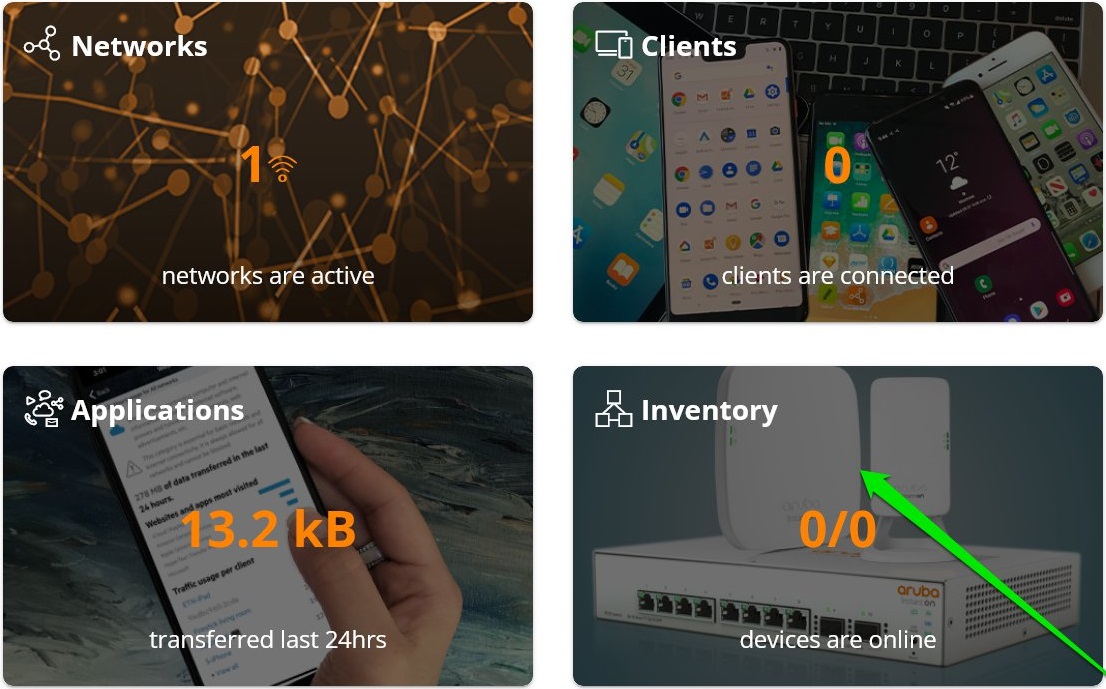
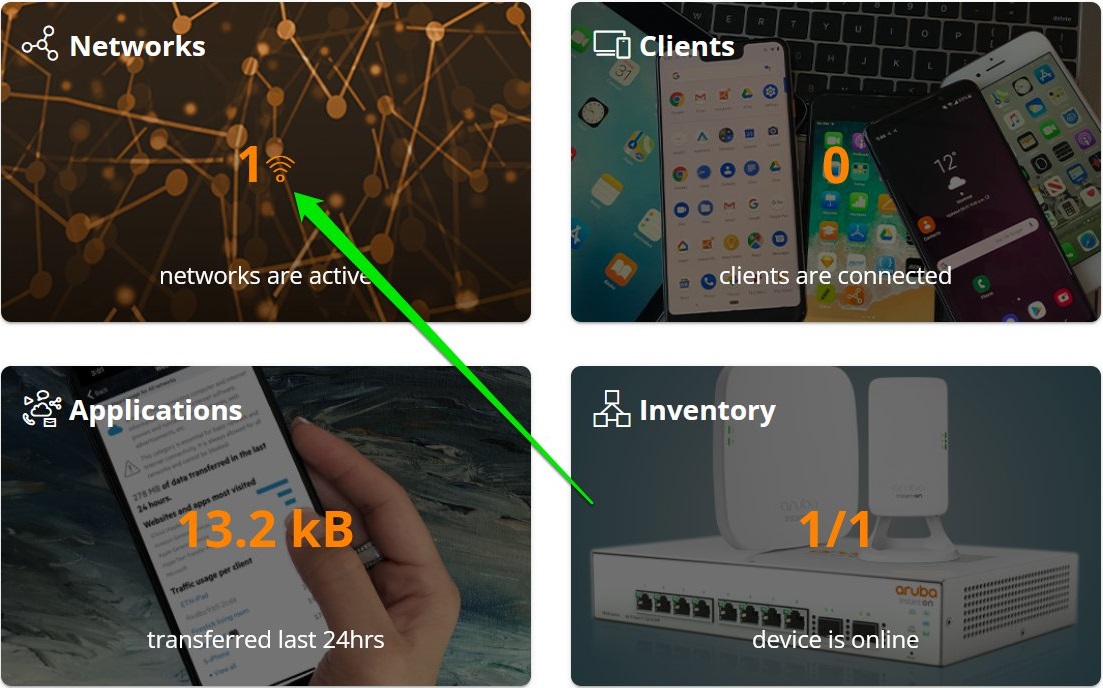
Once logged in, you should see the Aruba Instant On user interface, with the following modules available:
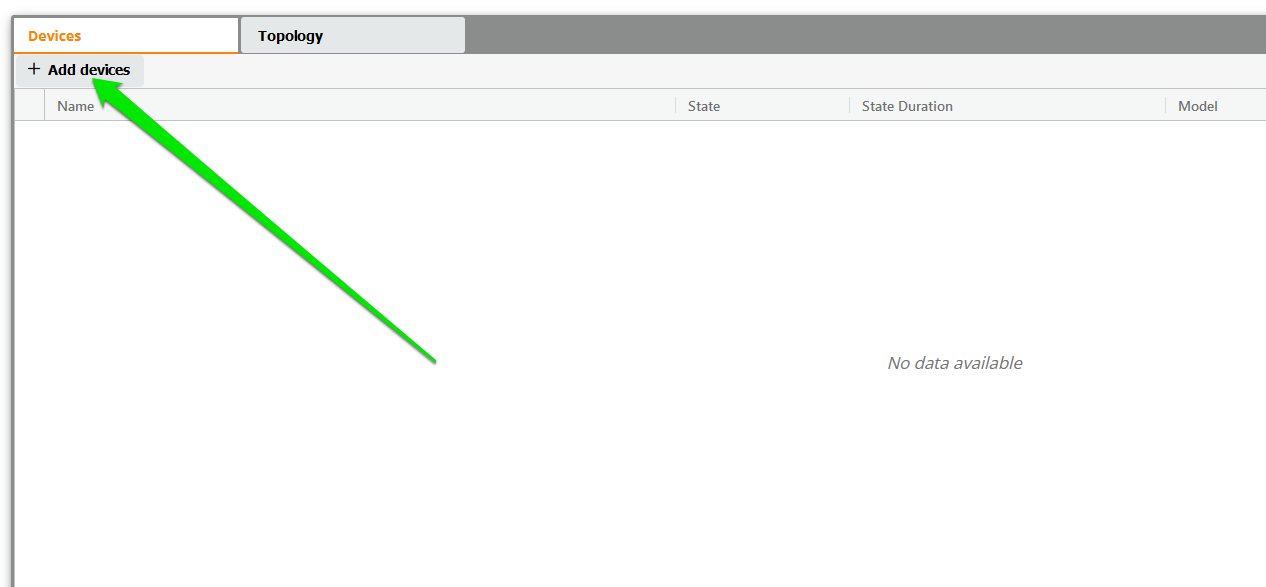
From the User Interface, select Inventory.
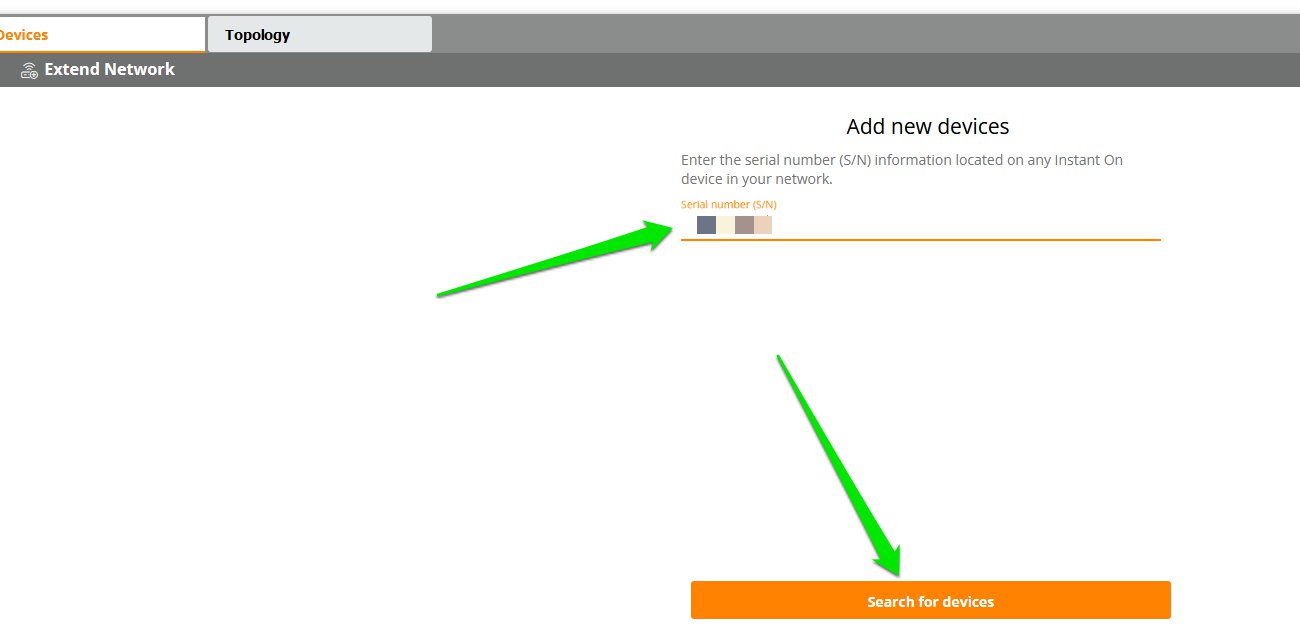
Then click + Add Devices.
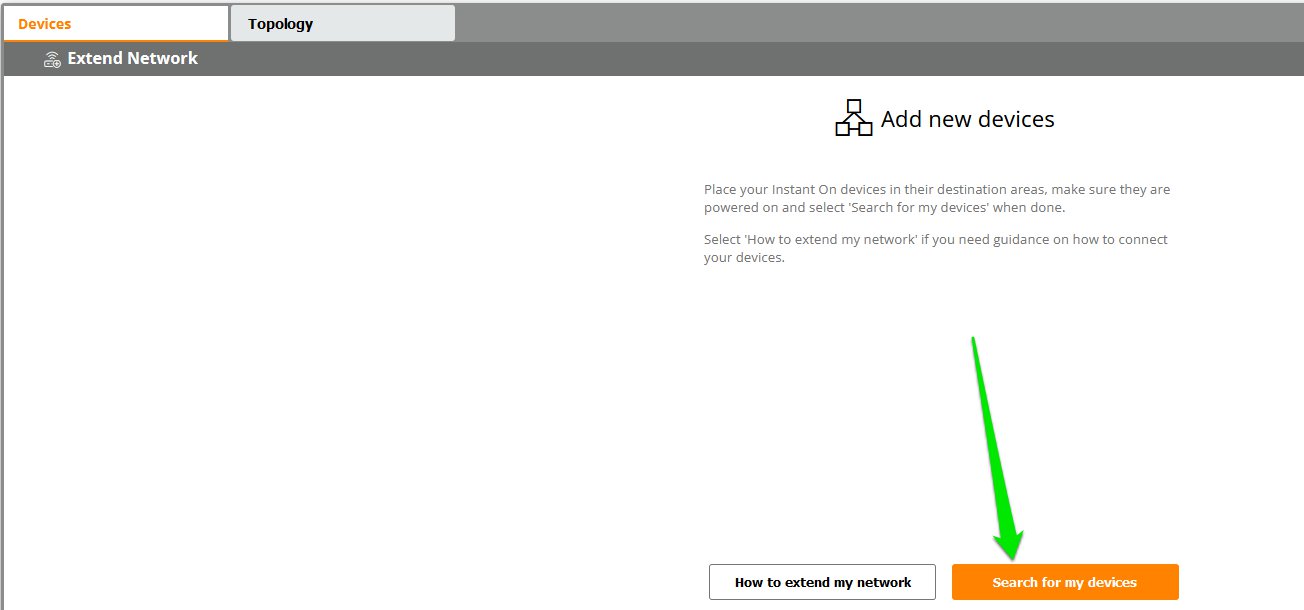
Click the Search for my devices button.
Enter the serial number of your Instant On AP and click the Search for devices button.
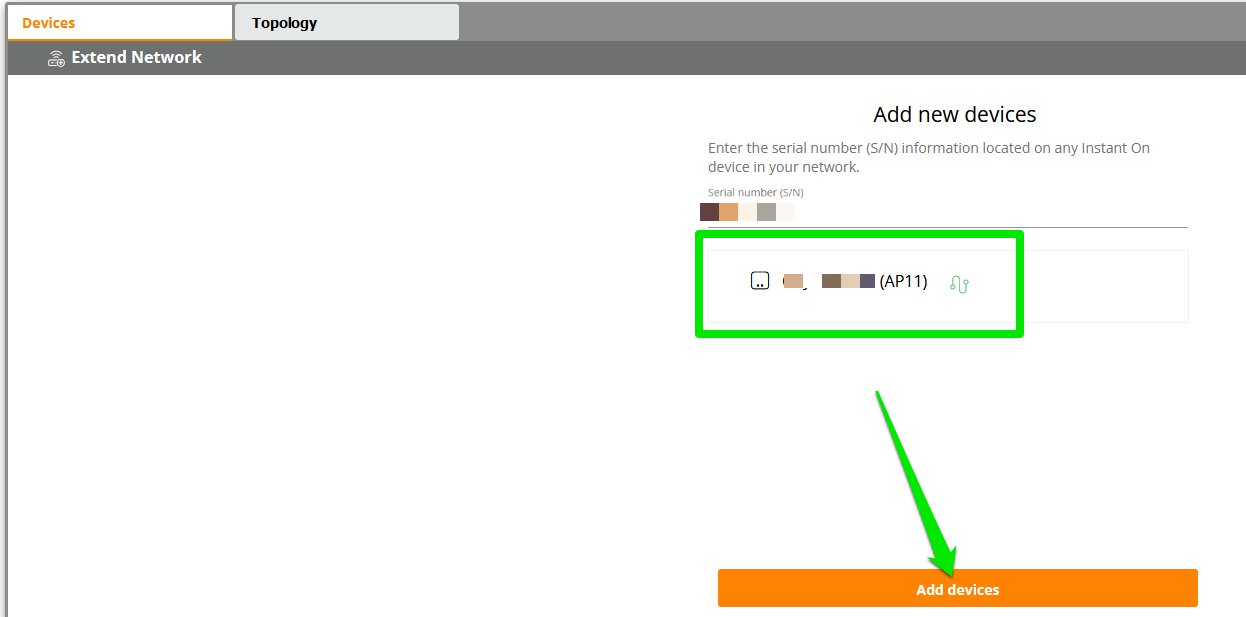
Now you should see the AP available in the list.
Click the Add devices button.
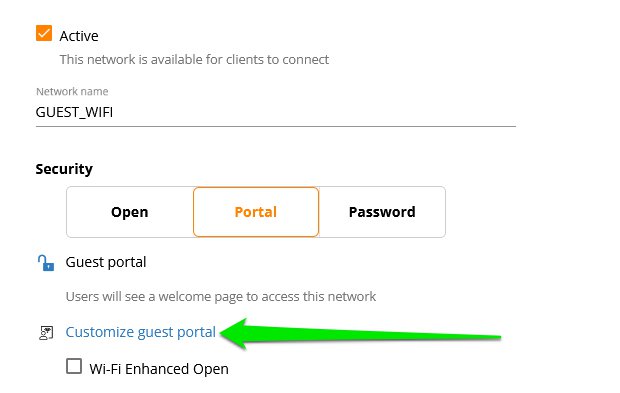
From the Aruba Instant On user interface, select Networks.
Click + Add.

Then, select Guest under Usage.
Enter a Network Name.
Select Portal under Security.
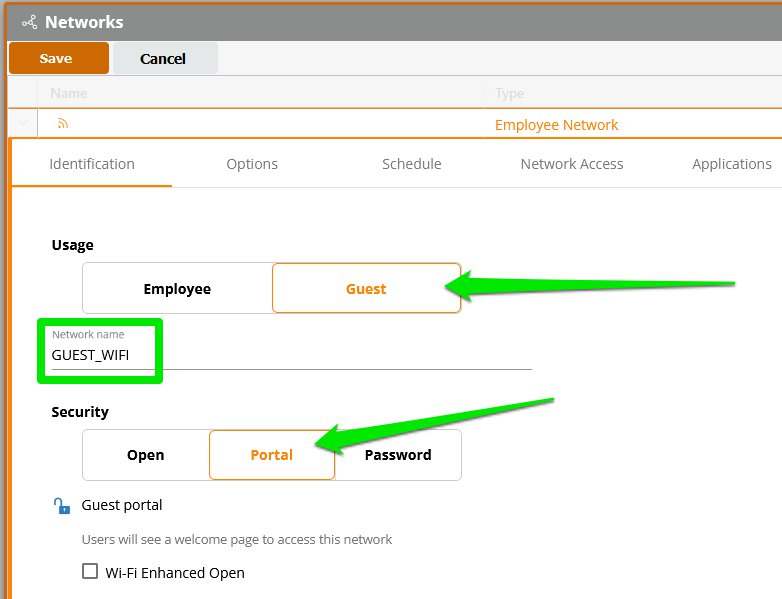
Click the Save button.
Once you have saved the entries, click the “Customize guest portal” link to modify the captive portal or splash page.
Select External from the drop down menu.
Step 3 Now, in the Server URL field, enter the Welcome Portal URL in the format
http(s)://FQDN_OF_YOUR_APPLIANCE/portal/portal.php?gateway=NAME_OF_YOUR_GATEWAY
Enable Send RADIUS accounting.
Under the Primary RADIUS Server section, complete as follows:
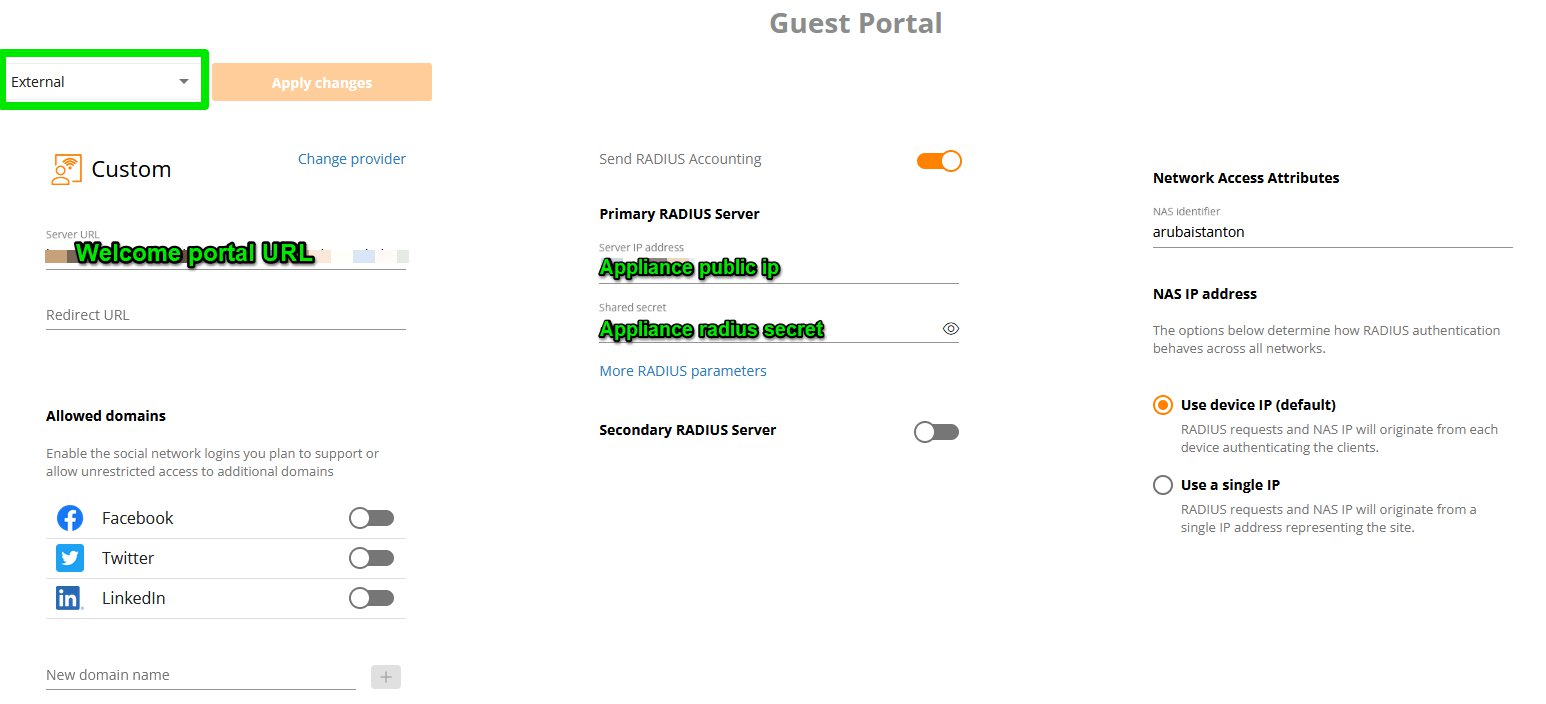
Click Apply changes at the top.
Now you need to configure the Walled Garden. In the Guest Portal page, under Allowed domains, enable the social networks logins you plan to support (if you plan to support any).
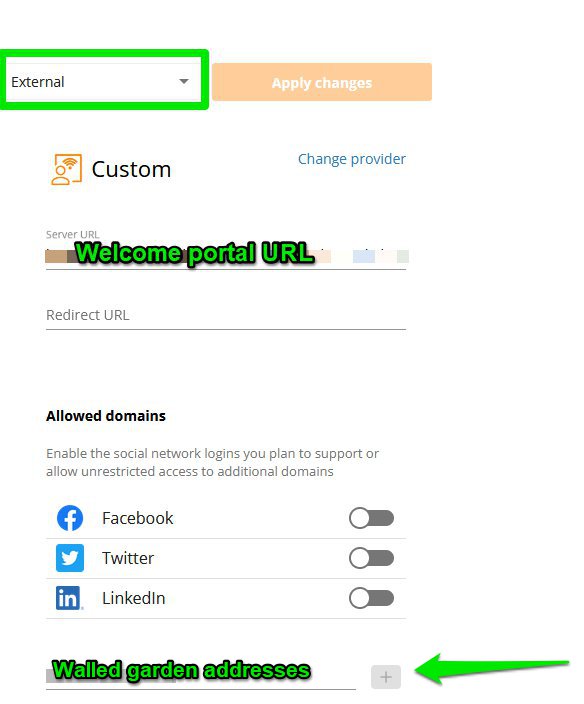
In the field “New domain name”, add one by one the IP address or domains you need for payments, etc.
Click Apply changes to save the entry.
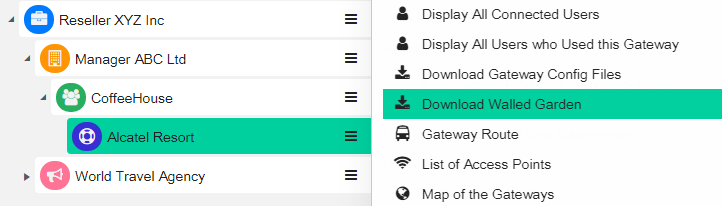
To know the accurate and relevant Walled Garden, you need to add one by one, access your HSNM platform and click the contextual dropdown menu of your gateway. Select Download Walled Garden to get a .txt file with your accurate walled garden list as shown Figure Download Walled Garden.
Once the Cloud Controller has implemented the changes, you will get your AP configured and ready to work with HSNM.