
This chapter describes how to configure Cambium cnPilot E400/E500 Access Point.
Before proceeding further with the configuration, you need to configure HSNM with a domain and a gateway as described in Adding a New Gateway.
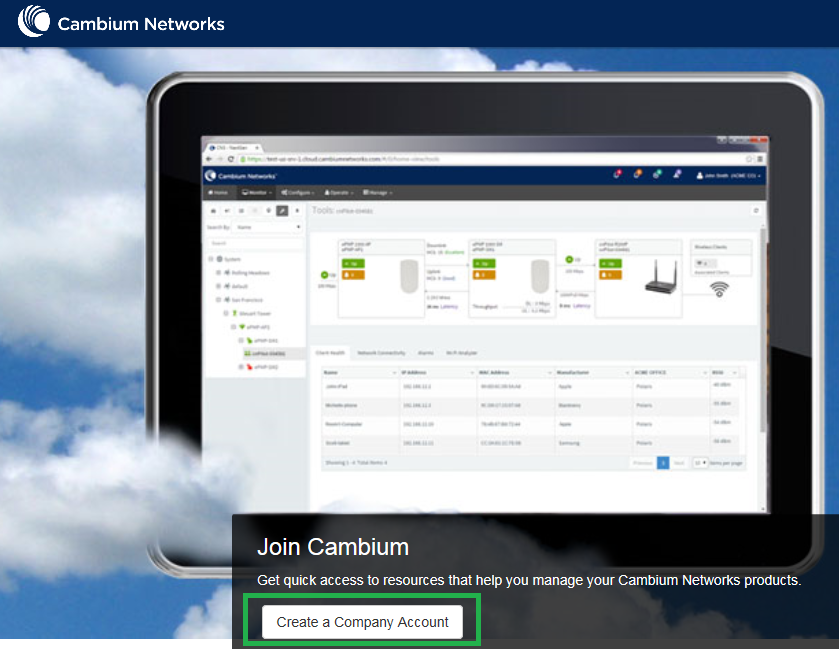
The first time you access Cambium Network, you need to create an account. First, connect the AP to your LAN and turn it on. Then, type https://cloud.cambiumnetworks.com/ and click Create a Company Account.
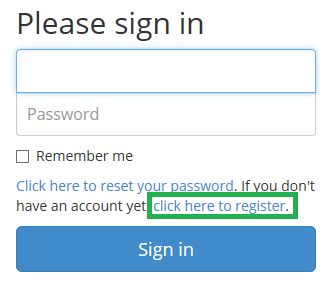
Then click click here to register and follow the required steps.
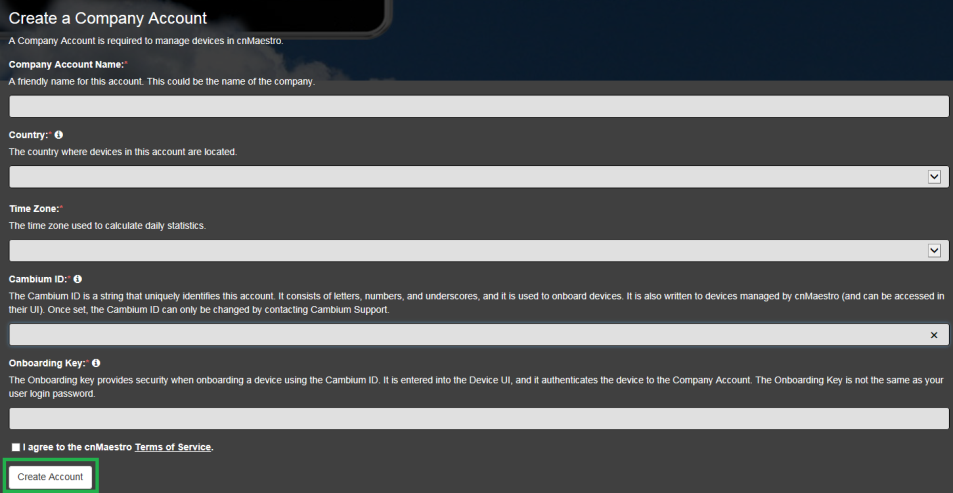
To complete the registration process, fill in all the required fields and then click Create Account.
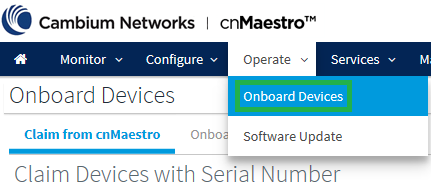
Once logged in to your cnMaestro, you need to add your AP in order to both update and manage it. Select the Operate tab and then click Onboard Devices.
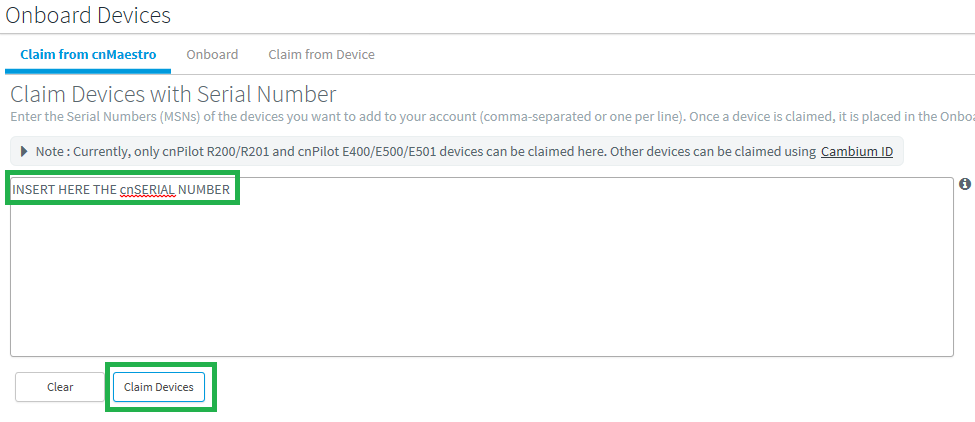
Now, in the Claim from cnMaestro section, insert the Serial Number (MSNs) of your cnAP.
Click the Claim Devices button.
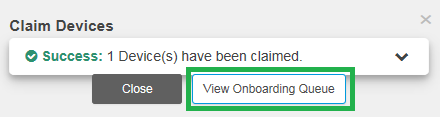
Click View Onboarding Queue to view the Onboarding Process.
A screen like the following one will appear:

Now, before clicking Approve, you need to assign a Wireless Profile to the Waiting for approval cnAP field.
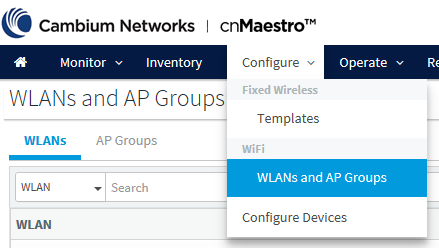
From the category bar, select Configure and then click WLANs and AP Groups.
Click the Add WLAN button.

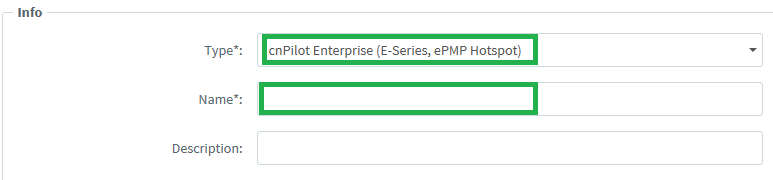
In the Type field, select “cnPilot Enterprise (E-Series, ePMP Hotspot)” and specify a name in the Name field.
In the Basic section, enter the relevant details according to your needs. The picture below shows an example of configuration:
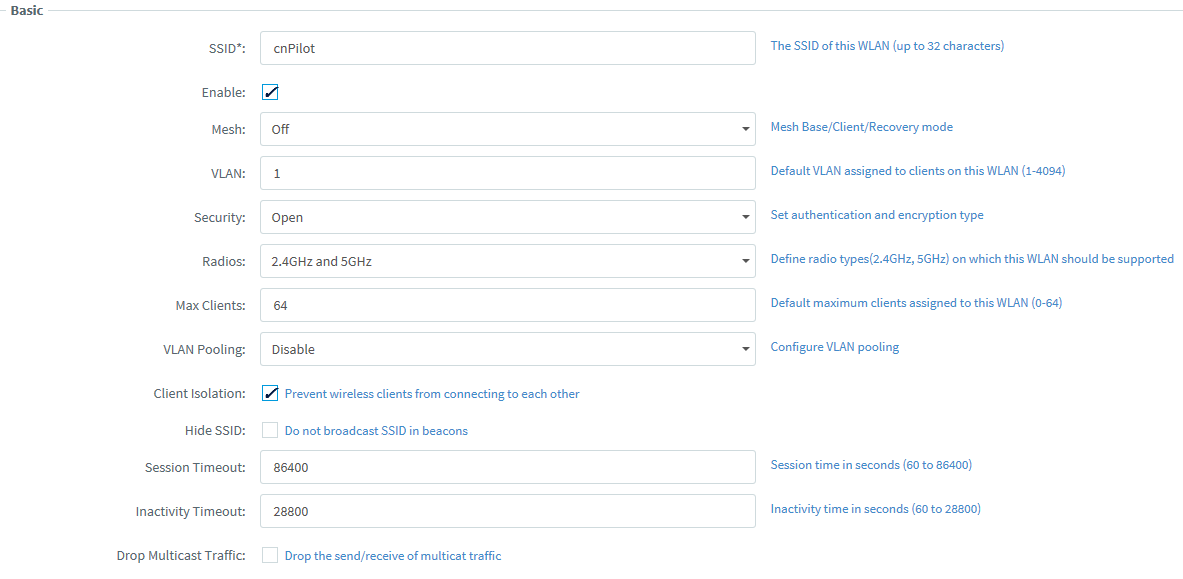
Click the Save button on the bottom right corner of the page to complete the WLAN configuration.
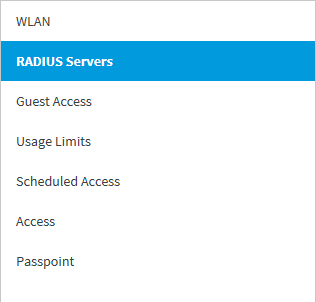
Now click the Radius Servers menu on the left.
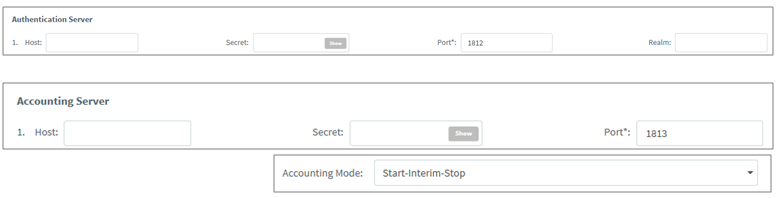
Insert the necessary data for the Authentication and Accounting Server. Then, save configuration.
Warning! Do not set up any value for the Realm field.
Click the Guest Access menu and enter the data as shown in the below picture
Then save the configuration.
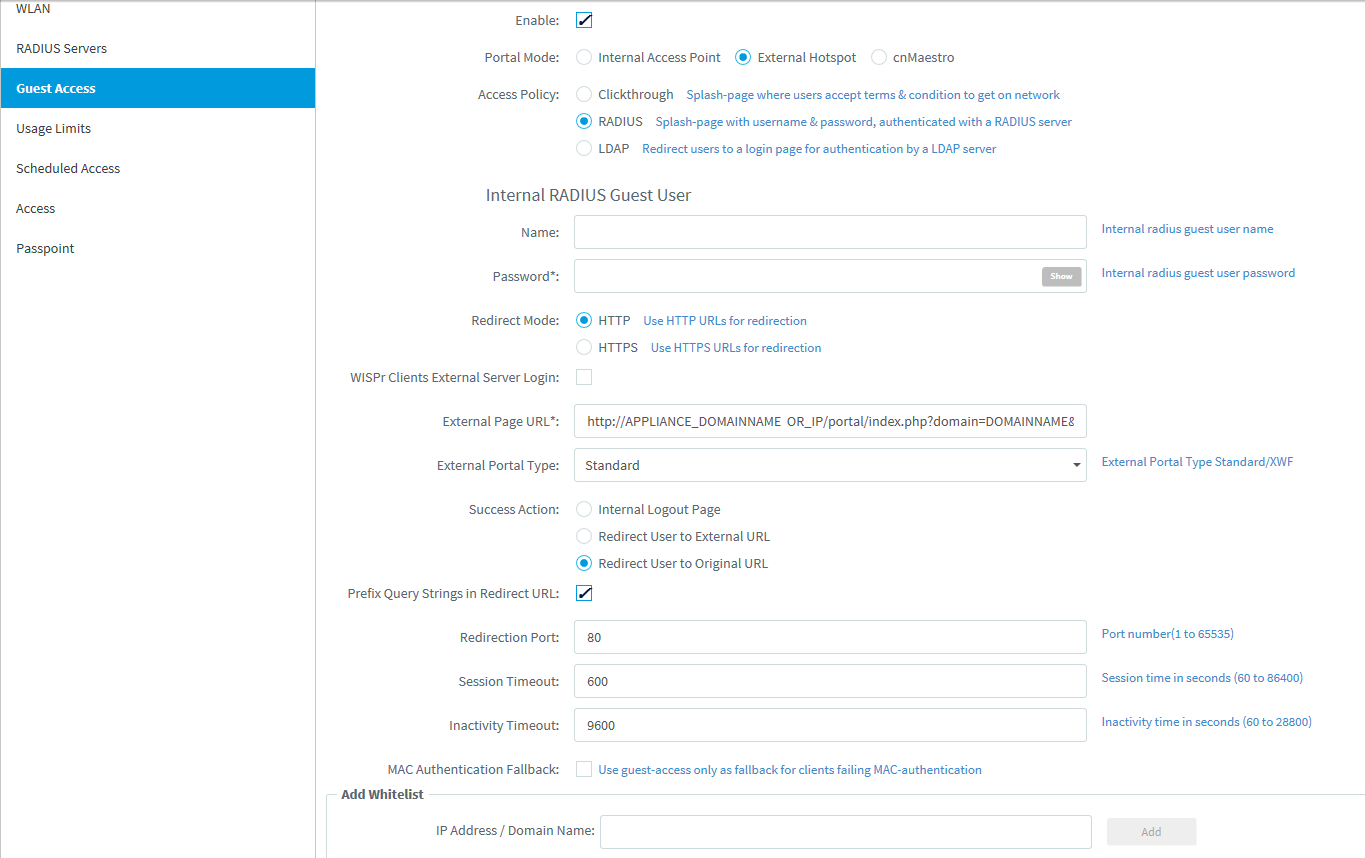
In the External Page URL field, enter the URL http://APPLIANCE_DOMAINNAMEOR_IP/portal/index.php?domain=DOMAINNAME&hotspotname=HOTSPOTNAME