
This chapter describes how to configure Ruckus VSZ.
Before proceeding further with the configuration, you need to configure HSNM configured with a domain and a gateway as described in Adding a New Gateway.
Access your Ruckus VSZ Portal with your credentials or by using the credentials Ruckus provided you with.

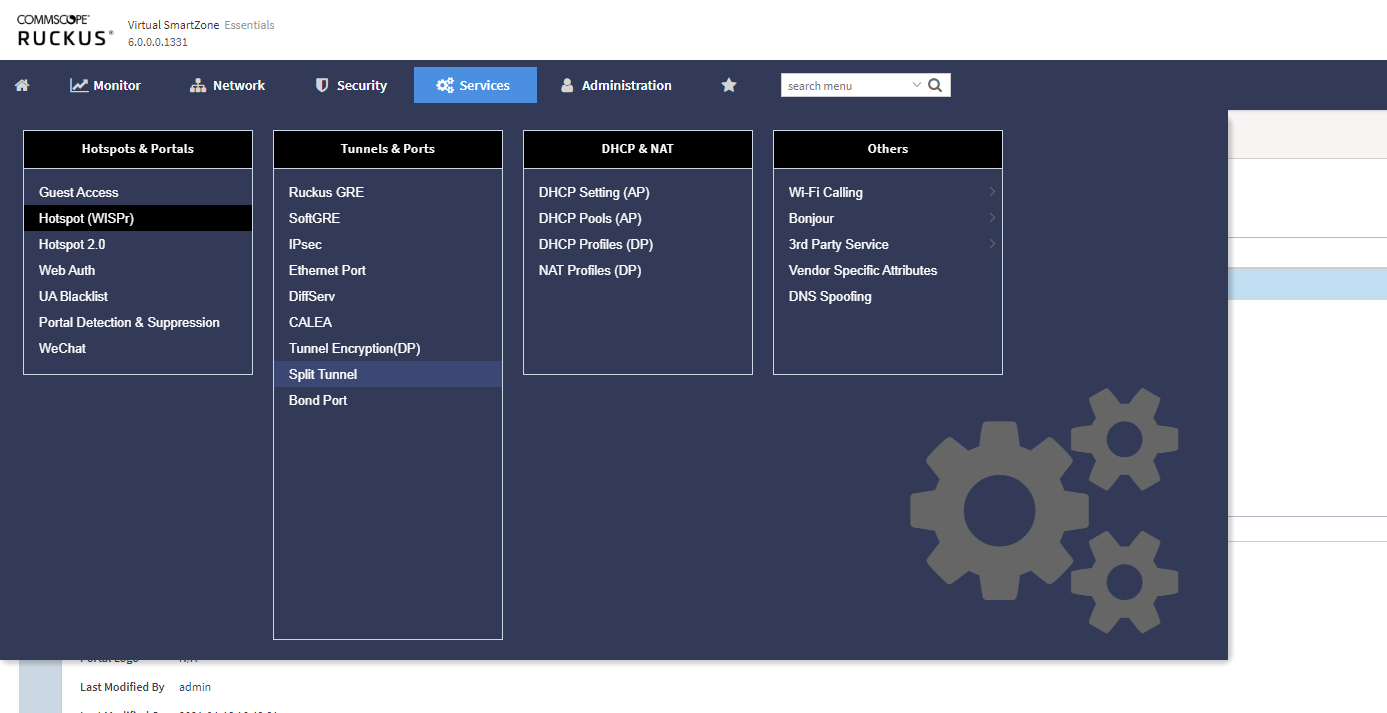
Click the Services tab at the top, then click Hotspot (WISPr) on the left.
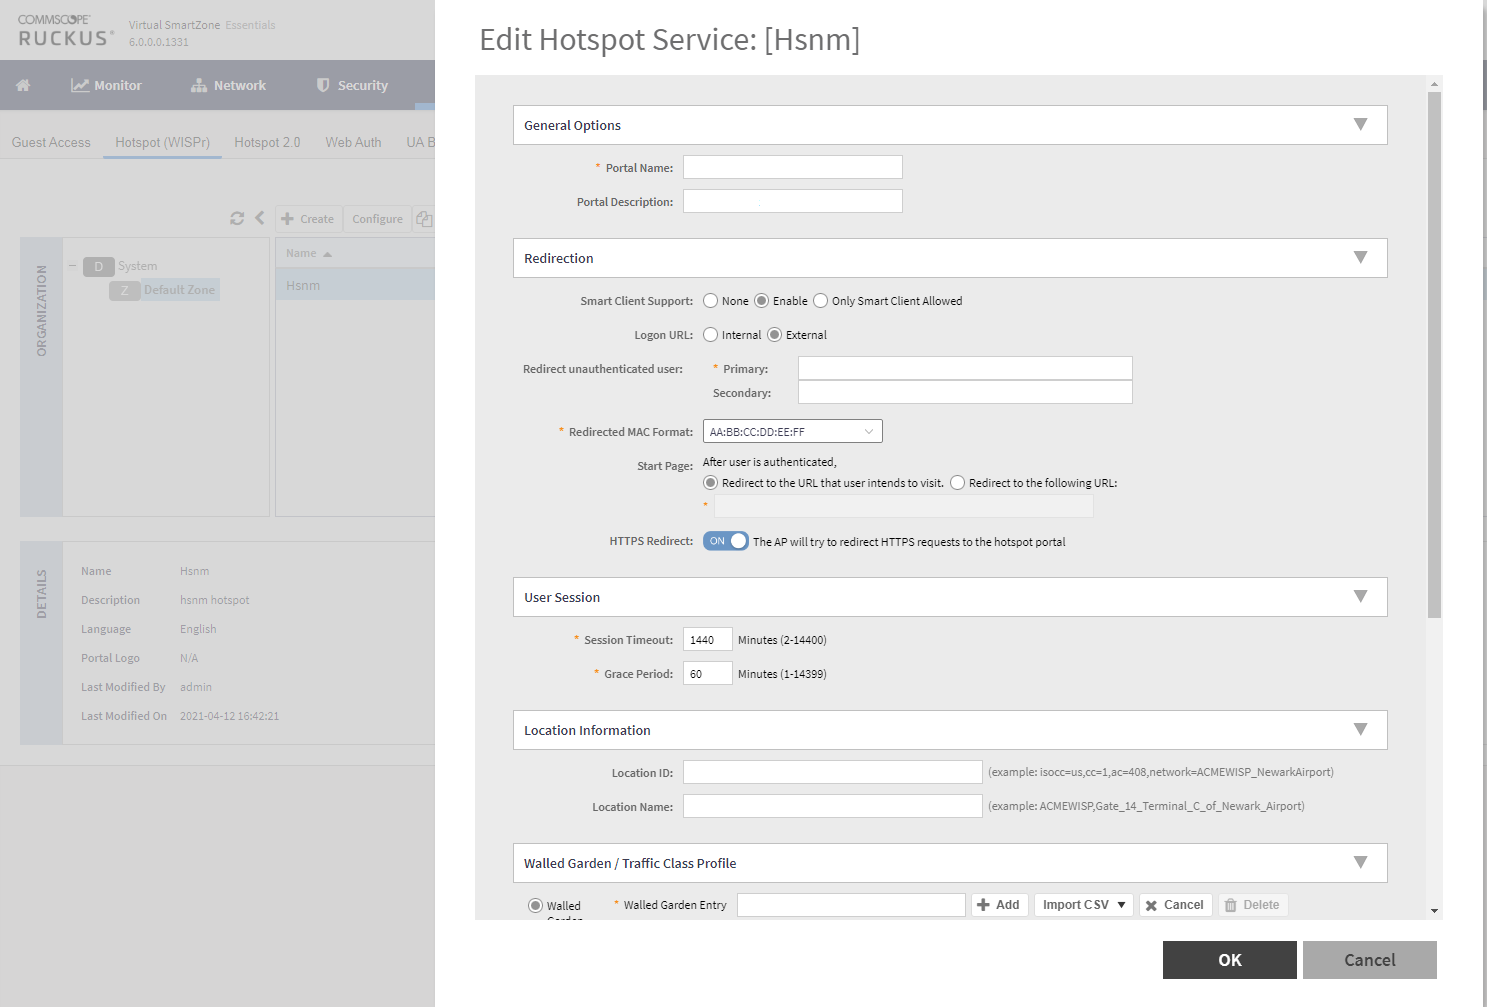
In the Organization section, click “Default Zone” and then click “+ Create”. Specify a “Portal Name” for the Hotspot Service.
In the Redirection menu:
In the User Session menu, you can either change the “Session Timeout” and “Grace Period” or maintain the default values.
Expand the menu of the Walled Garden.
Add one by one the walled garden you need for social login, payments, etc.
Also add your Platform IP and Platform FQDN.
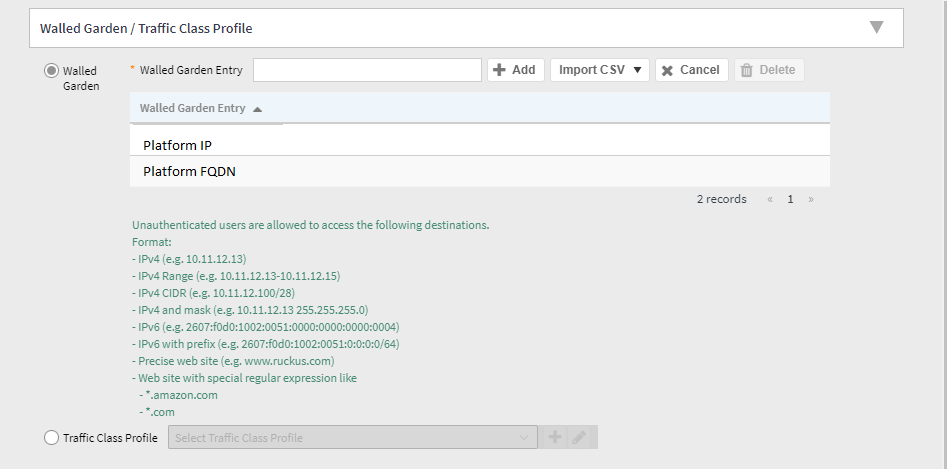
Click OK to save the entry.
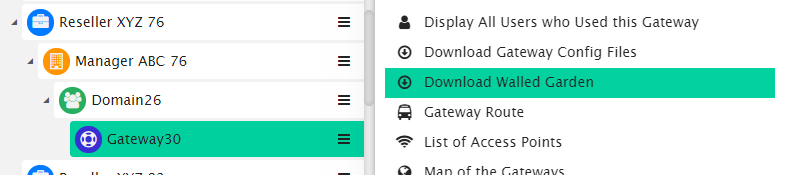
To know the accurate and relevant Walled Garden you need to add one by one, access your HSNM platform and click the contextual dropdown menu of your gateway. Select Download Walled Garden to get a .txt file with your accurate walled garden list as shown Figure Download Walled Garden.
Click the Network tab at the top and then click Wireless LANs on the left.
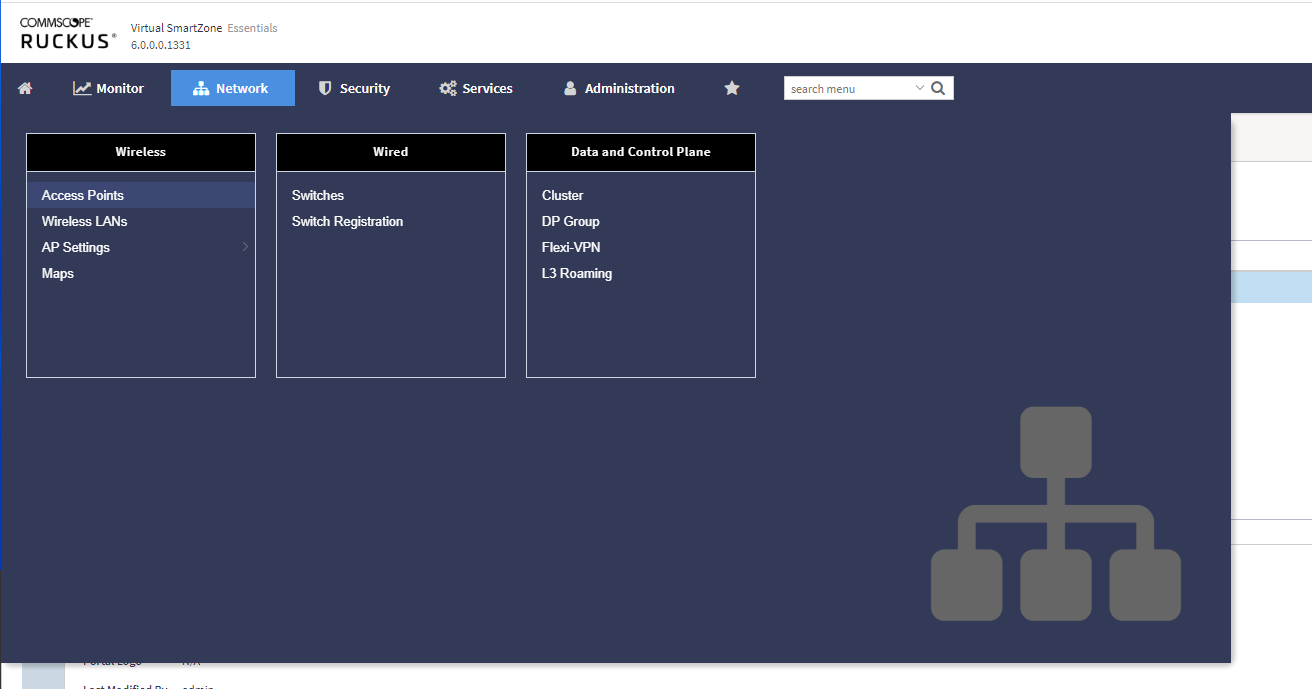
Now you have 3 different options:
Now that you have selected a WLAN Group, click “+ Create” in order to start configuring the WLAN.
In the General Options section, specify the name and SSID for your wireless network.
In the Authentication Options section, select “Hotspot (WISPr)” and then “Open” in the Method field.
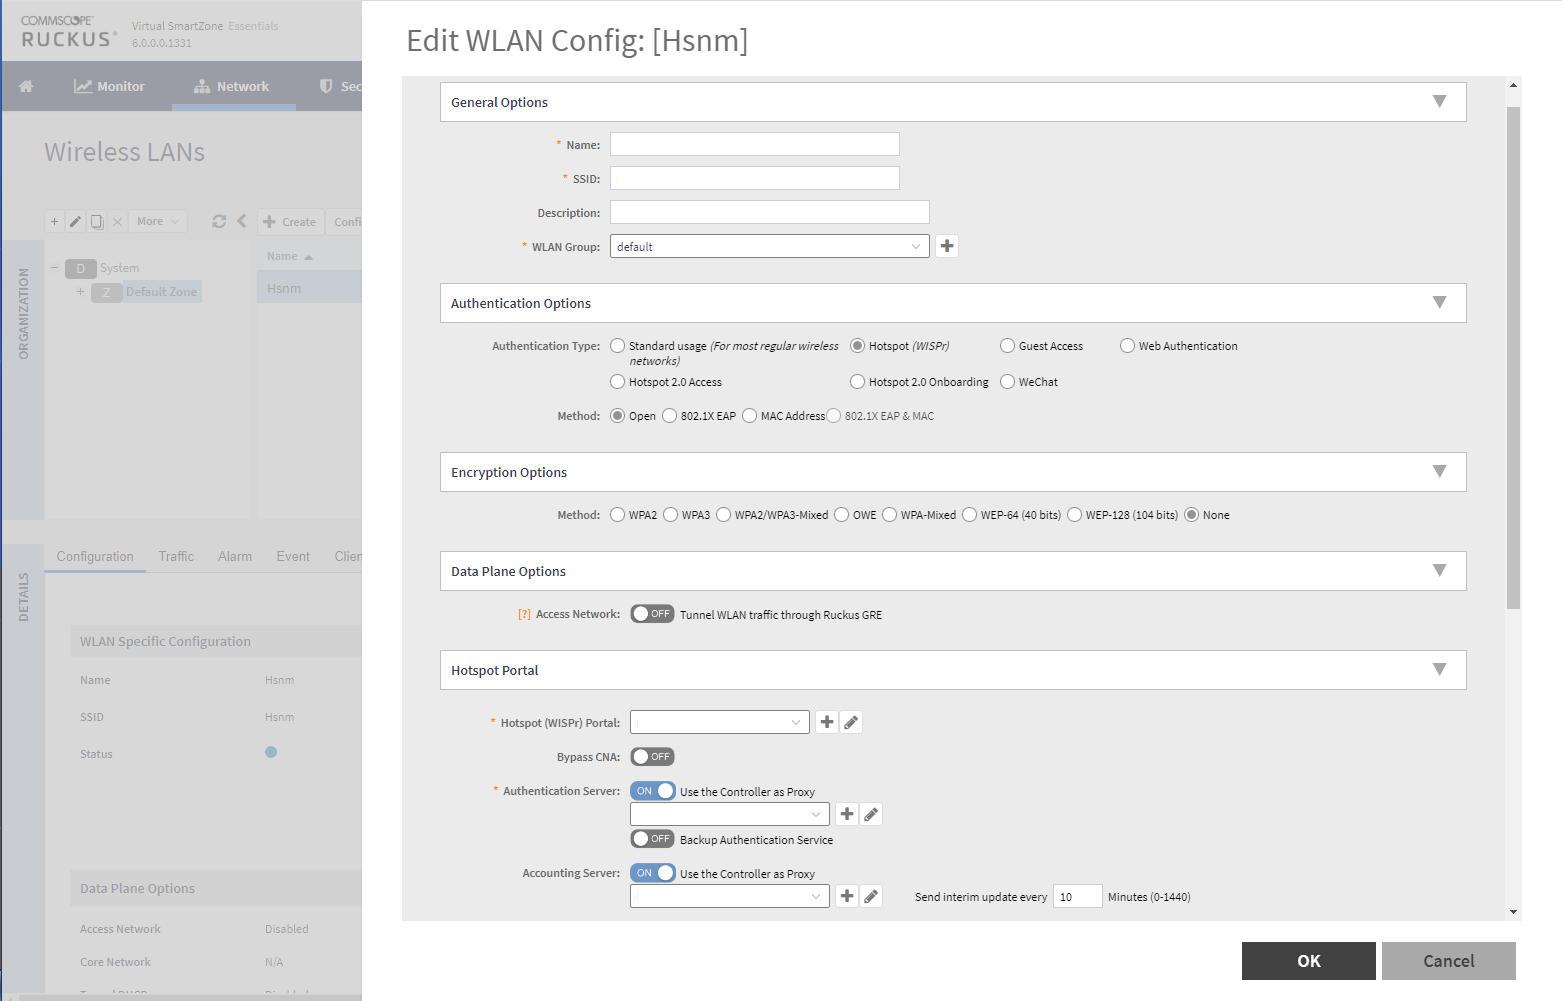
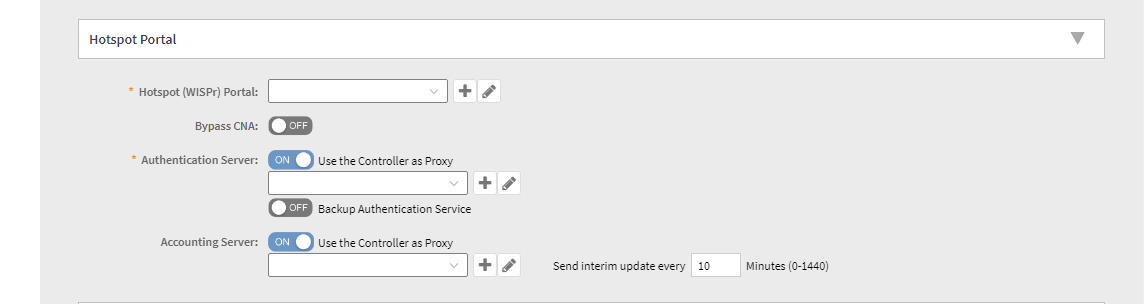
In the Hotspot Portal section, select the Hotspot (WISPr) created in “Configuring the Hotspot Service”.
In the Authentication Server field, click the + button. Then specify a name and a description for the Authentication Service.
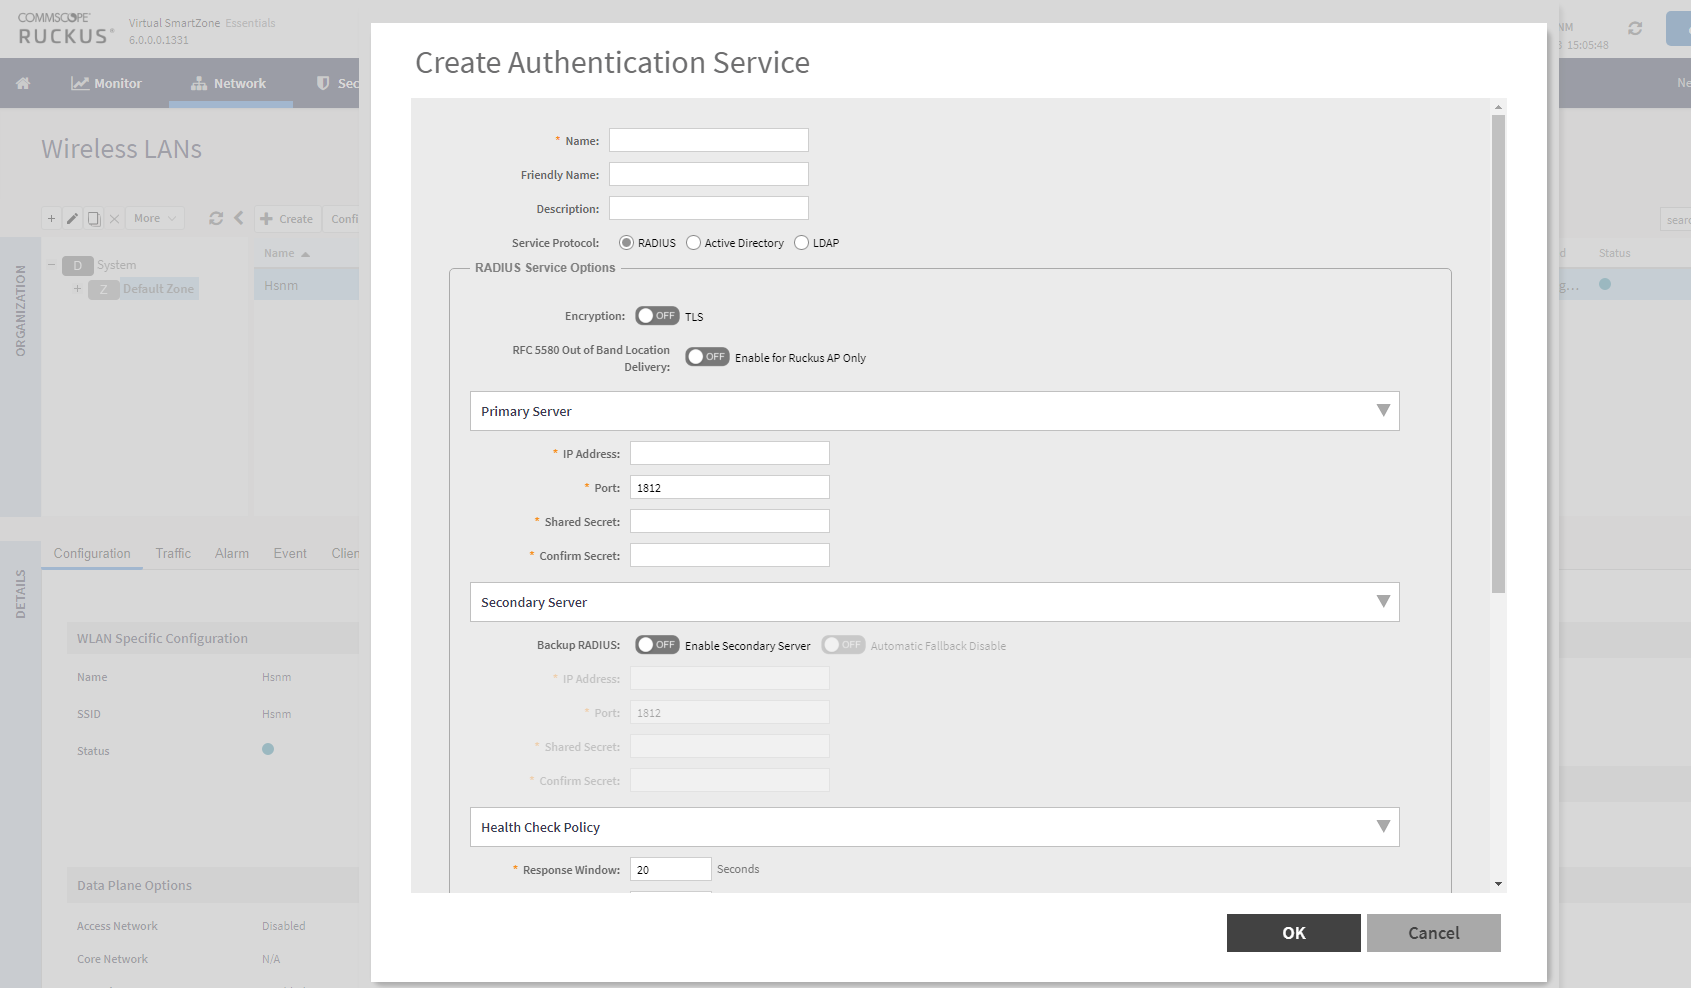
Now enter the following details:
Once completed, click the OK button.
In the Accounting Server field, click the + button. Then, specify a name and a description for the Accounting Service.
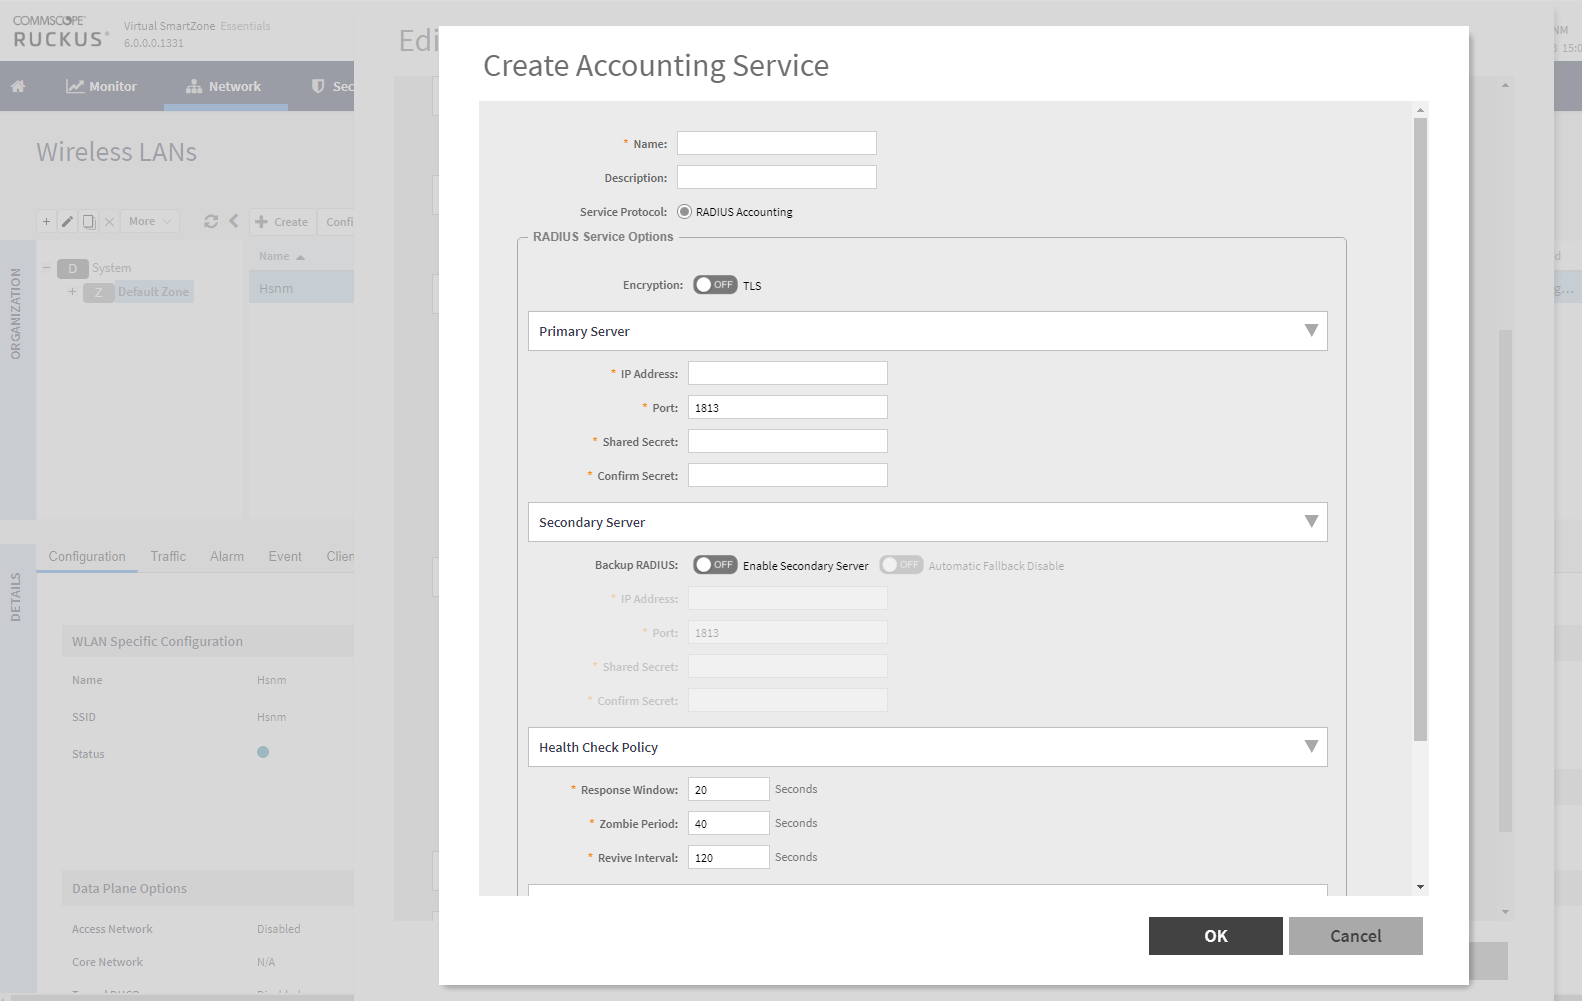
Now enter the following details:
Click the OK button to save the entries.
To configure your APs, please refer to the following Getting Started Guide on the Ruckus website:
https://support.ruckuswireless.com/documents/812-vsz-getting-started-guide-for-smartzone-3-1-1
Once saved, you have completed your configuration. You can now connect a device to the WiFi network of the Ruckus Access Point, and you will be redirected to the HSNM Welcome Portal.